Installing Patio: 8 Powerful Steps for Stunning Results 2025
Transform Your Backyard with a Paver Patio
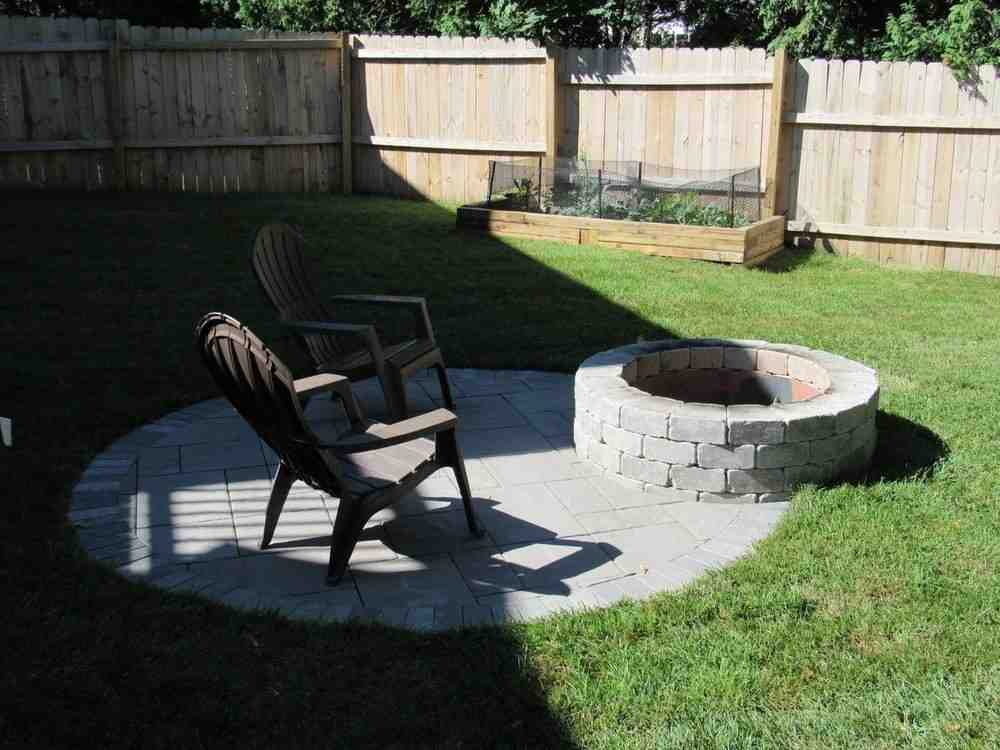
There’s something magical about stepping out onto a beautiful paver patio on a warm summer evening. Installing patio pavers transforms an ordinary backyard into an inviting outdoor living space that your family will enjoy for years to come.
I’ve seen countless homeowners light up when they see their finished patio for the first time. It’s not just a construction project—it’s creating the backdrop for future family barbecues, quiet morning coffees, and evenings under the stars.
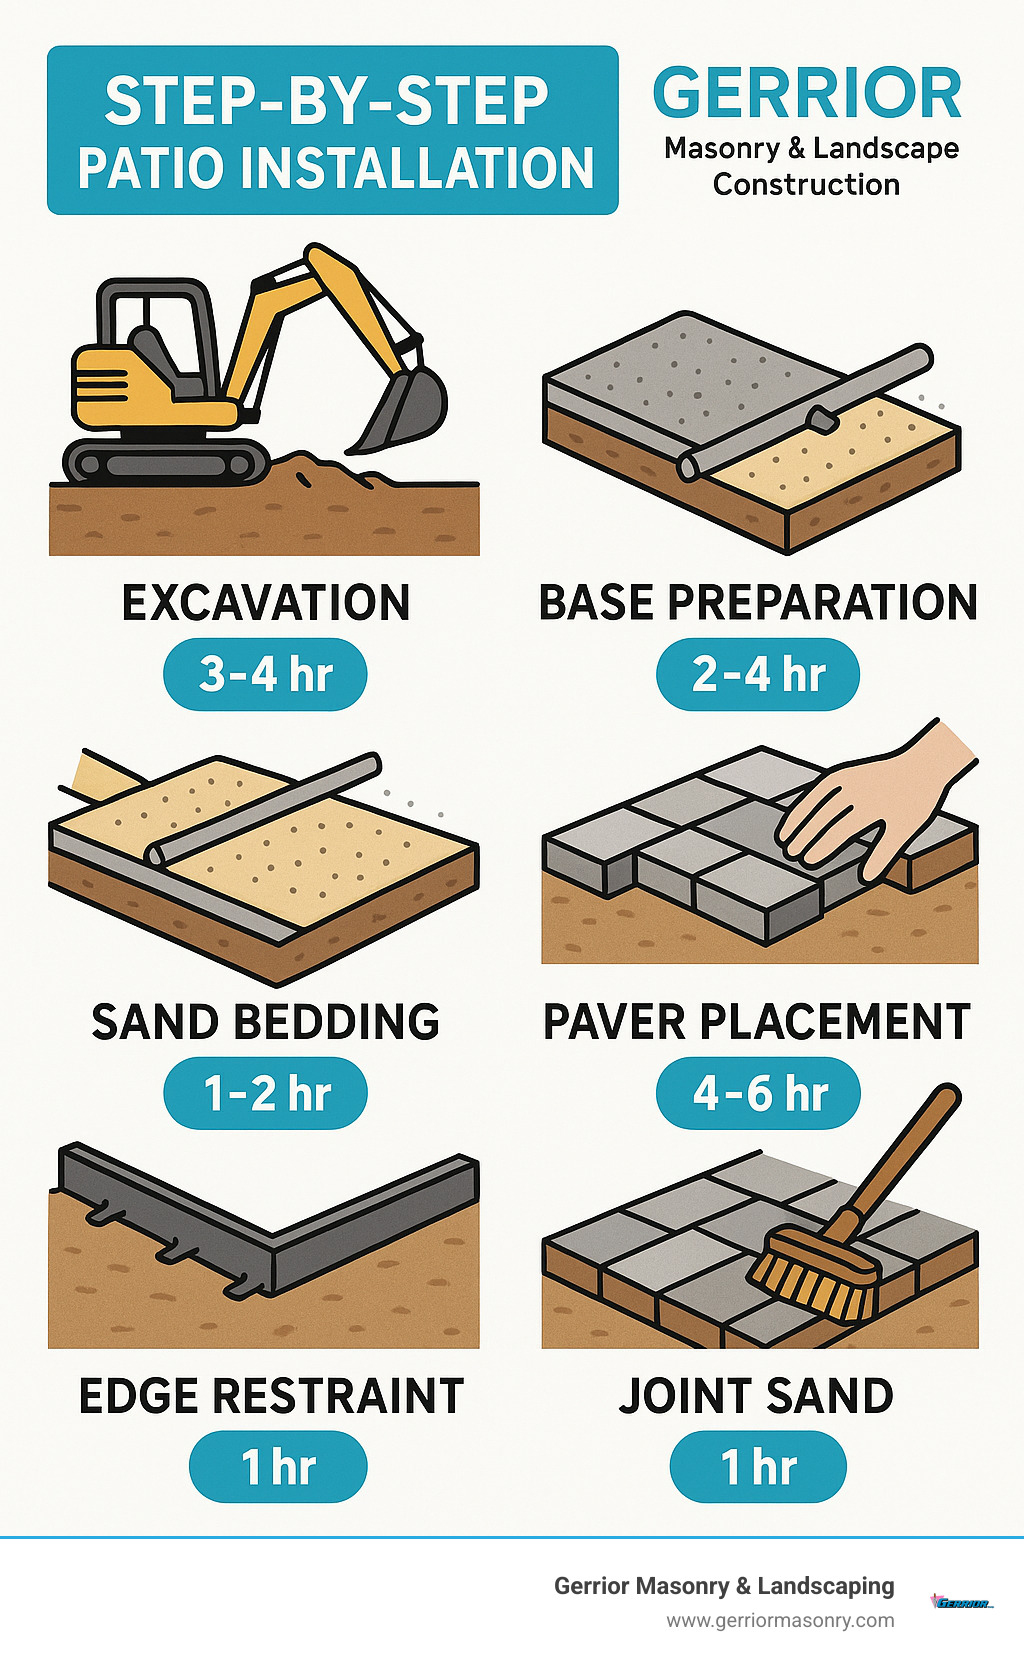
If you’re thinking about tackling this project yourself, here’s what you need to know: Start with careful planning and design, measuring your space and ensuring a proper drainage slope (about 1 inch per 4 feet). Next comes material selection—whether you prefer concrete, brick, or natural stone pavers, always order 5-10% extra to account for cuts and breakage.
The foundation is critical. Excavation should go 8-10 inches below your desired patio height, followed by base preparation with geotextile fabric and 4-6 inches of compacted gravel. The sand bedding comes next—a perfectly screeded 1-inch layer using PVC pipes as guides. Then comes the fun part: paver installation in your chosen pattern, working from a corner outward.
Don’t forget edge restraints—plastic or concrete edging prevents your beautiful work from spreading over time. Finally, the finishing touches involve sweeping polymeric sand into the joints and misting lightly with water to create a solid, weed-resistant surface.
Taking on this project yourself can save up to 45% in labor costs compared to hiring a pro. That said, the quality of your base preparation and attention to drainage details will determine how your patio holds up over the seasons.
I’m Joe Gerrior, owner of Gerrior Masonry & Landscape Construction Corp., and I’ve spent the last 34 years installing patio spaces for Massachusetts homeowners. There’s nothing quite like seeing an ordinary backyard transformed into a beautiful, functional outdoor living area that families can enjoy for decades.
Looking for more inspiration? Check out our related services:
– backyard garden design
– landscape planning
– modern landscape design
Why a Patio Boosts Home Value
“My only regret is not doing this years ago.” I hear this all the time from our clients after installing patio spaces in their homes. Beyond creating a beautiful outdoor oasis, a well-built paver patio is a smart financial investment. Real estate experts consistently report that quality patios can return up to 80% of their cost when you sell your home, making them one of the most valuable outdoor improvements you can make.
But the real value goes beyond dollars and cents. A patio fundamentally changes how you experience your home. It creates an outdoor room—a place to gather with friends, enjoy family meals, or simply unwind after a long day. Many of our Middlesex and Essex County clients tell us their patio quickly becomes the most-used “room” in their home during the warmer months.
As one of our project managers likes to say, “Building a patio is much like putting together a puzzle. When all the pieces fit properly, you’ve created something both beautiful and lasting.” It’s this attention to detail that ensures your outdoor space will be enjoyed for generations.
Gerrior Masonry & Landscape Construction is based in Woburn, MA, and services Middlesex and Essex County, Massachusetts.
Step 1: Plan, Design & Budget Your Patio
The magic of a beautiful patio begins long before the first paver is placed. As I tell my clients in Middlesex County, proper planning isn’t just helpful—it’s essential for creating an outdoor space that will bring joy for years to come.
Site Measurement and Layout
Grab your measuring tape and start by mapping out your dream patio area. Use wooden stakes and brightly colored string to outline the perimeter, making sure to add about 8 inches extra for edge restraints and slope adjustments. Here’s a pro tip I’ve learned after decades of installing patio spaces: measure the diagonals of your rectangular layout—they should match if your corners are truly square.
“One of the most common mistakes we see is improper layout,” I often tell homeowners. “Taking time to get this right saves headaches later.”
When deciding on size, think about how you’ll actually use the space. For a cozy dining area, you’ll want at least 10′ x 12′ to fit a table and chairs with room to move around. Planning bigger gatherings? Consider 16′ x 18′ or more to create a comfortable entertaining space where guests won’t feel cramped.
Slope Calculation for Proper Drainage
Water is both a patio’s friend and enemy. Your patio should gently slope away from your house at a rate of 1 inch per 4 feet (or ¼ inch per foot). This subtle incline—barely noticeable to the eye—ensures rainwater runs off rather than creating puddles or worse, flowing toward your foundation.
To create this life-saving slope:
1. Drive stakes at the corners of your layout
2. Tie string between stakes at your desired finished patio height
3. Use a line level to ensure proper downward slope away from the house
4. Mark the stakes at the correct heights
I’ve seen too many DIY patios fail simply because this step was overlooked!
Utility Marking and Permits
Before you dig even an inch, call 811 to have underground utilities marked. This free service can literally save lives by preventing accidental hits to gas or electric lines.
Next, visit your local building department about permits. Many Massachusetts towns we serve—including Woburn, Winchester, and Lexington—require permits for patios over certain sizes or those including electrical elements, fire features, or structural components. Better safe than sorry (and facing potential fines).
Choosing Materials
The pavers you select will define the character of your outdoor space. Here’s a comparison of options I discuss with my clients:
| Material | Cost per sq ft | Durability | Appearance | Best for |
|---|---|---|---|---|
| Concrete Pavers | $2.25-$11 | Excellent | Wide variety of colors and textures | Most applications, budget-conscious projects |
| Brick Pavers | $4-$15 | Very good | Classic, timeless look | Traditional homes, smaller spaces |
| Natural Stone | $3-$30 | Outstanding | Unique, organic appearance | High-end projects, natural settings |

Choosing a Pattern & Layout
The pattern you select isn’t just about looks—it affects the whole feel of your outdoor space. After installing patio projects for over three decades, I’ve seen how different patterns create different moods:
Running Bond creates a classic brick-wall pattern that’s straightforward to install and works beautifully in most spaces. Herringbone adds visual interest and provides excellent structural integrity—perfect if you’ll ever drive over the area. Basketweave offers a traditional look that pairs wonderfully with rectangular pavers, while Random/Ashlar patterns use multiple paver sizes for a more natural, relaxed appearance.
For something truly special, consider a Circular pattern that creates an neat focal point in your design. For complex designs, paver design software can help, or you might want professional input. At Gerrior Masonry, we provide 3D renderings so you can “walk through” your new patio before we start installing patio pavers.
Looking for more creative ideas? Visit our Backyard Patio Designs page for inspiration.
Common Mistakes When Installing Patio
Let me share what 34 years of fixing other people’s mistakes has taught me:
Poor drainage planning leads to water pooling or flowing toward your home’s foundation—a recipe for disaster. Insufficient base preparation might save time initially but causes settling and an uneven surface that’s both unsightly and dangerous. Forgetting edge restraints allows pavers to spread and separate over time, while inadequate compaction of each layer virtually guarantees future settling issues. Using regular sand instead of polymeric sand between pavers invites weeds to take up residence in your joints.
“I’ve seen DIYers try to save time by skipping proper base preparation,” I often tell new clients. “Within a year, they’re calling us to fix a sagging, uneven patio. The base is everything.”
Taking time to properly plan your patio is like building a solid foundation for a house—invisible when done right, but absolutely essential for everything that follows. Your outdoor oasis deserves this careful attention to detail.
Gerrior Masonry & Landscape Construction, based in Woburn, MA, proudly serves Middlesex and Essex County homeowners with expert patio, walkway and masonry solutions.
Step 2: Installing Patio Base & Pavers
With planning complete, it’s time to get your hands dirty. The quality of your base determines the longevity of your patio, so this is where professional-grade work makes all the difference.
Excavating to the Correct Depth
The foundation of a great patio starts with proper excavation. Think of it as digging your way to success! You’ll need to remove enough soil to accommodate:
– 6 inches for the gravel base
– 1 inch for the bedding sand
– The thickness of your pavers (typically 2-3 inches)
– Any additional depth needed for proper slope
For most residential patios in our Massachusetts climate, this means digging 8-10 inches below your desired finished height. With our freeze-thaw cycles, proper depth isn’t just a suggestion—it’s essential for preventing frost heave that can ruin your beautiful new patio.
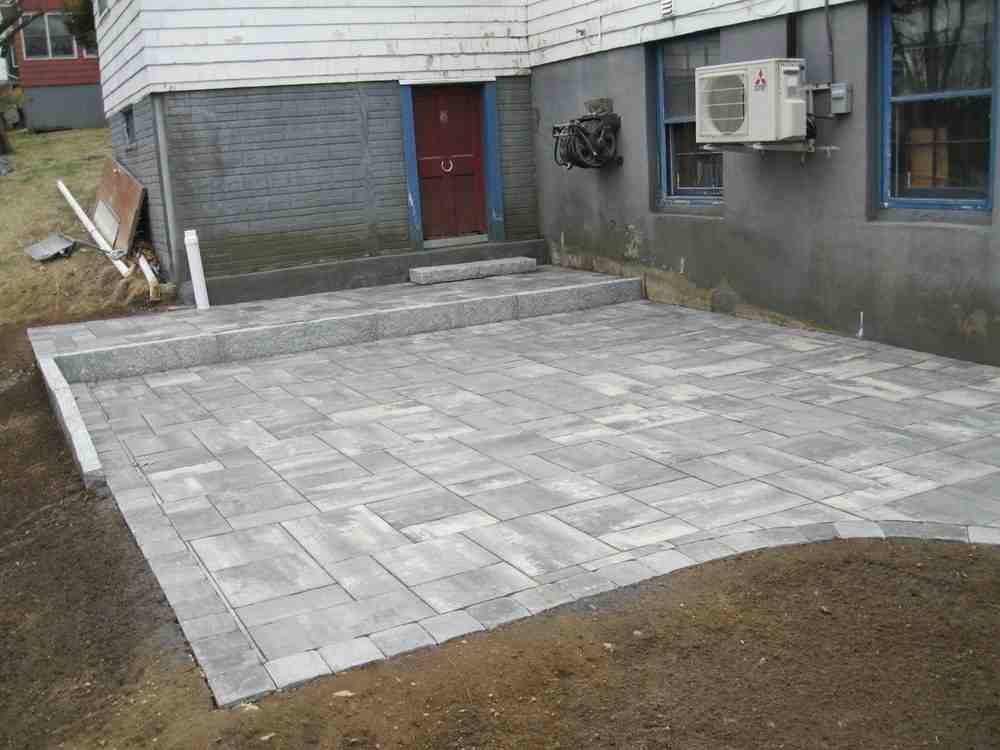
For smaller projects, a good old-fashioned sharp garden spade shovel and some muscle will do the trick. Tackling something larger? Consider renting a mini skid steer—your back will thank you!
Once you’ve reached the proper depth, it’s time to compact the soil with a tamper or plate compactor. This creates a solid foundation for everything that follows. Don’t skip this step—proper compaction now prevents headaches later.
Base Preparation
I always tell my clients that the base is like the foundation of a house—invisible when finished, but absolutely crucial to success when installing patio pavers. Here’s how we create a professional-quality base:
First, roll out geotextile fabric across your excavated area. This magic material prevents your base gravel from mixing with the soil below while helping distribute weight evenly. Think of it as a protective barrier between your hard work and the unpredictable ground beneath.
Next comes the gravel—but not just any gravel! You’ll want 3/4″ crushed stone that meets ASTM D2940 specifications. Avoid rounded stones like pea gravel, which won’t lock together properly. The angular edges of crushed stone interlock to create a stable base that resists shifting.
“I’ve seen too many DIY patios fail because someone used the wrong base material,” I often share with clients. “Those rounded decorative stones from the garden center might look pretty, but they’ll roll around like marbles under pressure.”
The secret to a rock-solid base? Add your gravel in 2-3 inch layers, thoroughly compacting each layer before adding the next. Make at least three passes with a plate compactor in different directions—north to south, east to west, and diagonally. A light misting of water before compaction can help achieve even better results.
Throughout this process, keep checking your slope. 1/4″ per foot grade away from your house? Use a long, straight board and a level to ensure you’re maintaining it consistently across your base.
Screeding a Perfect 1-Inch Bedding Layer
Now for a technique that separates the pros from the amateurs—creating the perfect sand bed. This thin layer provides a smooth, consistent surface for setting your pavers.
Start by selecting the right sand—coarse concrete sand, not play sand or mason sand. The larger, angular particles provide better drainage and stability. I’ve seen many DIY projects go wrong simply because someone used the wrong type of sand.
Here’s a professional trick that makes all the difference: set up screed guides using 1-inch diameter PVC pipes across your compacted base. Space them about 6-8 feet apart, then spread your sand between them, slightly overfilling the area.
Next, grab a straight 2×4 and drag it across the pipes in a sawing motion. This “screeding” technique levels the sand to a perfect 1-inch depth. As you work, the excess sand falls away, leaving a perfectly flat surface.
After screeding a section, carefully remove each pipe and fill the void with additional sand, then smooth with a trowel. The key is to avoid walking on your freshly screeded sand—once it’s perfect, leave it alone until you’ve placed pavers on top.
Installing Patio Pavers in Sections
Finally, the moment you’ve been waiting for—laying those beautiful pavers! This is where your patio starts to take shape, and there’s something deeply satisfying about seeing the pattern emerge.
Always start in a corner or along a straight edge if possible. Think of it as building a puzzle—you need those edge pieces in place first! Work outward and away from your finished edge, maintaining consistent joints between pavers. Most applications look best with 1/8″ to 1/4″ joints, though some pavers come with built-in spacers.
One cardinal rule when installing patio pavers: always stand and work from pavers you’ve already placed. This keeps you from disturbing that perfectly screeded sand bed. It might seem awkward at first, but you’ll get the hang of it quickly.
As you place each paver, give it a gentle tap with a rubber mallet to set it firmly in the sand bed. This ensures it’s level with adjacent pavers and makes good contact with the sand below. Check your alignment frequently using a string line for straight rows, and verify level across multiple pavers with a straight edge.
“When I’m training new crew members,” I often say, “I tell them to think like a dancer—always be aware of where your feet are! One misstep can ruin a perfectly screeded sand bed.”
Work in manageable sections—don’t screed more sand than you can cover with pavers in a day. Weather changes or overnight dew can affect your sand bed, so plan accordingly.
For more detailed information about the installation process, visit our Patio Paver Installation page.
Gerrior Masonry & Landscaping, based in Woburn MA, proudly serves Middlesex and Essex County homeowners with expert patio, walkway and masonry solutions.
Step 3: Cutting Edges, Joint Filling & Drainage Finishing
Now comes the detail work that takes your patio from good to great. As you reach the edges of your patio, you’ll need to make precise cuts to create that finished, professional look.
How to Cut Curves & Corners
Cutting pavers might seem intimidating, but with the right approach, it’s completely manageable. For straight cuts, clearly mark your cutting line with chalk or a pencil, then use a masonry saw with a diamond blade. Always prioritize safety – wear eye protection, ear protection, and a dust mask to protect against silica dust.
“When cutting pavers, measure twice, cut once,” our team often reminds homeowners. “And always cut outdoors or use a wet saw to control harmful silica dust.”
Creating curves requires a bit more finesse. Start by laying out your curve using a flexible garden hose or rope as a template. Transfer this outline to your pavers with chalk, then make a series of straight cuts to approximate the curve. For gentler curves, closely spaced straight cuts often work beautifully. For tighter curves, a wet saw provides better control and cleaner results.
Dust control isn’t just about cleanliness – it’s a health issue. Wet cutting significantly reduces harmful silica dust, making it the preferred method when installing patio edges that require multiple cuts.
Filling Joints for Strength & Weed Control
Properly filled joints do more than just look nice – they’re what transforms individual pavers into a solid, unified surface. Polymeric sand is the professional’s choice here. Unlike regular sand, it contains special polymers that harden when moistened, creating joints that resist erosion, prevent weed growth, and deter ants from tunneling.
Before applying sand, ensure your pavers are completely dry. Then pour the polymeric sand over the surface and sweep in all directions until the joints are completely filled. A push broom works best for this, allowing you to work the sand deep into the joints.
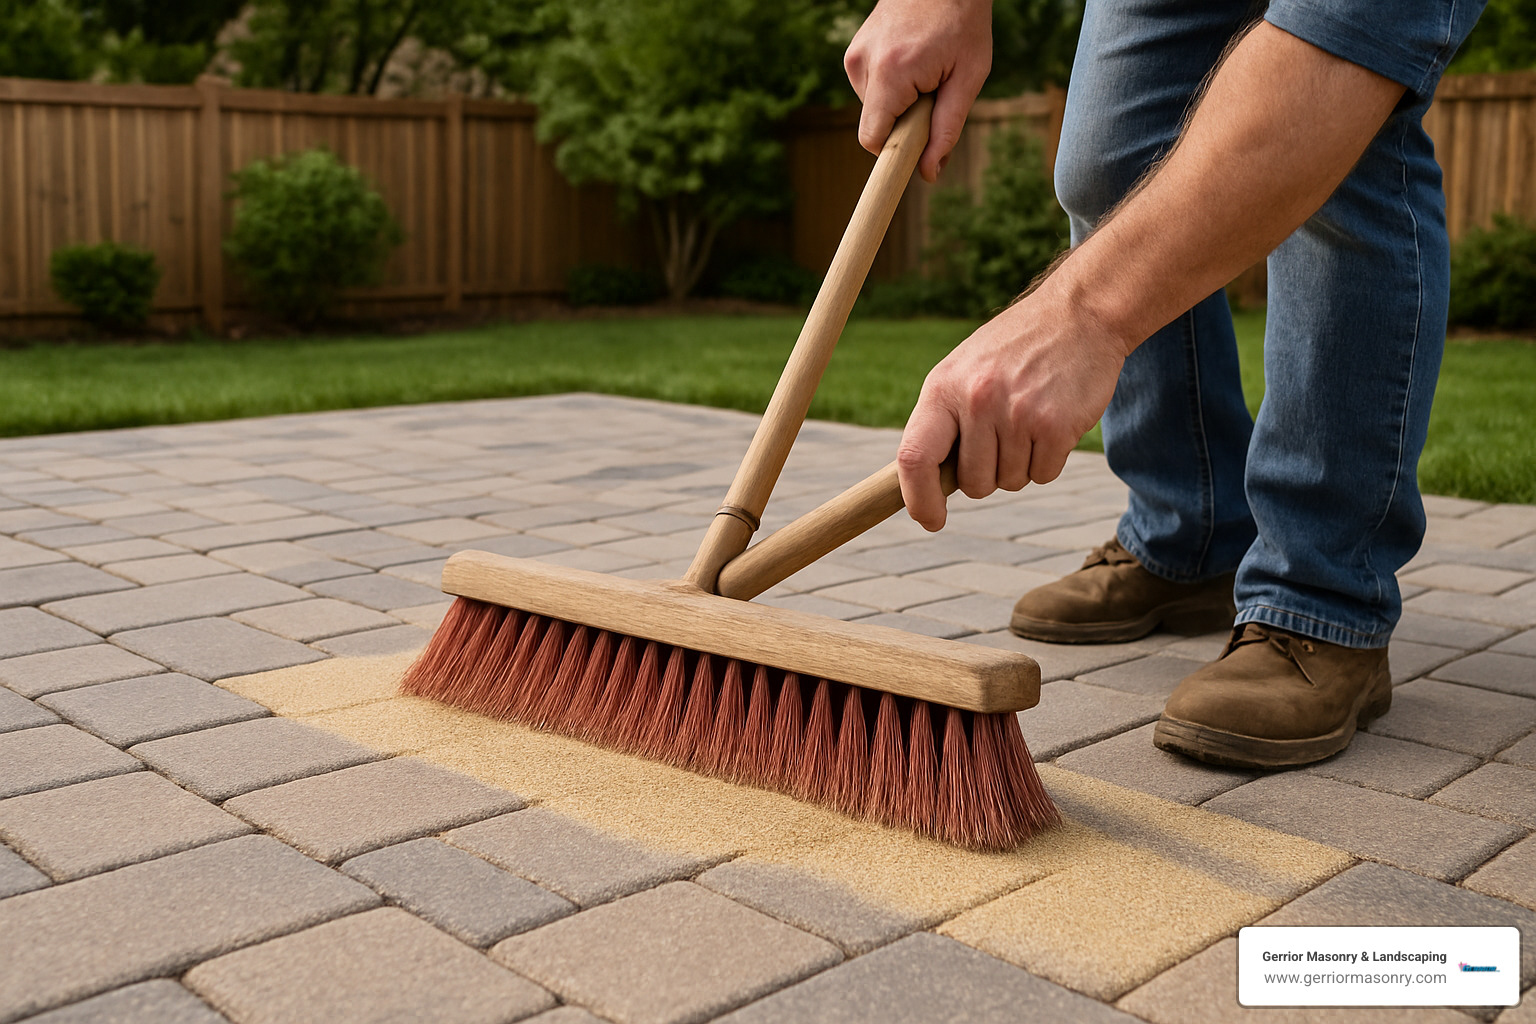
Next, run a plate compactor with a rubber mat attachment over the entire patio. This vibration helps settle the sand deeper into the joints. You’ll likely need to add more sand and repeat the process until the joints remain full after compaction.
Before activating the polymeric sand, use a leaf blower on a low setting to remove all excess sand from the paver surfaces. Any sand left on top will harden there – not what you want! Finally, following the manufacturer’s instructions, lightly mist the surface with water to activate the binding agents. The key word here is “lightly” – a gentle mist, not a soaking.
“G2 Polybind is our preferred brand,” shares one of our foremen. “It provides excellent durability and comes in colors to match different paver selections.”
Installing Patio Edge Restraints
Edge restraints are the unsung heroes of paver patios. Without them, your beautiful patio will eventually spread outward, creating gaps and an uneven surface. Think of edge restraints as the frame around a puzzle – they keep everything locked in place.
You have several options for edge restraints when installing patio borders. Plastic edging is affordable and easy to install. Metal edging offers more durability but at a higher cost. Concrete curbing provides the most permanent solution, while a soldier course (pavers set vertically in concrete) offers both restraint and visual appeal.
To install plastic or metal edging, place it tight against the outside edge of your patio, then secure with 10-12″ landscape spikes every 12″ along the length. The key is making sure the top of the edging sits just below the surface of your pavers so it remains hidden.
After installation, backfill against the outside of the edging with soil or mulch. This not only helps hold it in place but also conceals it from view, maintaining the clean look of your patio edge.
Proper drainage is the final critical element. Double-check that your finished patio maintains that 1/4″ per foot slope away from your home or other structures. This gentle slope is barely noticeable to the eye but makes all the difference in preventing water issues.
For homeowners looking for professional assistance with their patio projects, our team at Gerrior Masonry provides expert installation services. Visit our Patio Contractor page to learn more about how we can help create your perfect outdoor space.
Step 4: Sealing, Maintenance & Average Costs
Your patio installation is nearly complete, but a few finishing touches will ensure it remains beautiful for years to come.
Sealing for Protection
While not absolutely necessary, sealing provides several benefits:
- Improved colors: Sealers can deepen and enrich the natural colors of your pavers
- Stain resistance: Makes it easier to clean up spills before they become permanent stains
- Reduced efflorescence: Prevents the white, chalky deposit that can form on concrete and brick
- Joint stabilization: Provides additional hardening for polymeric sand joints
If you choose to seal, wait at least 30 days after installing patio pavers to allow efflorescence to emerge and be cleaned before sealing. Reapply sealer every 3-5 years depending on wear and exposure.
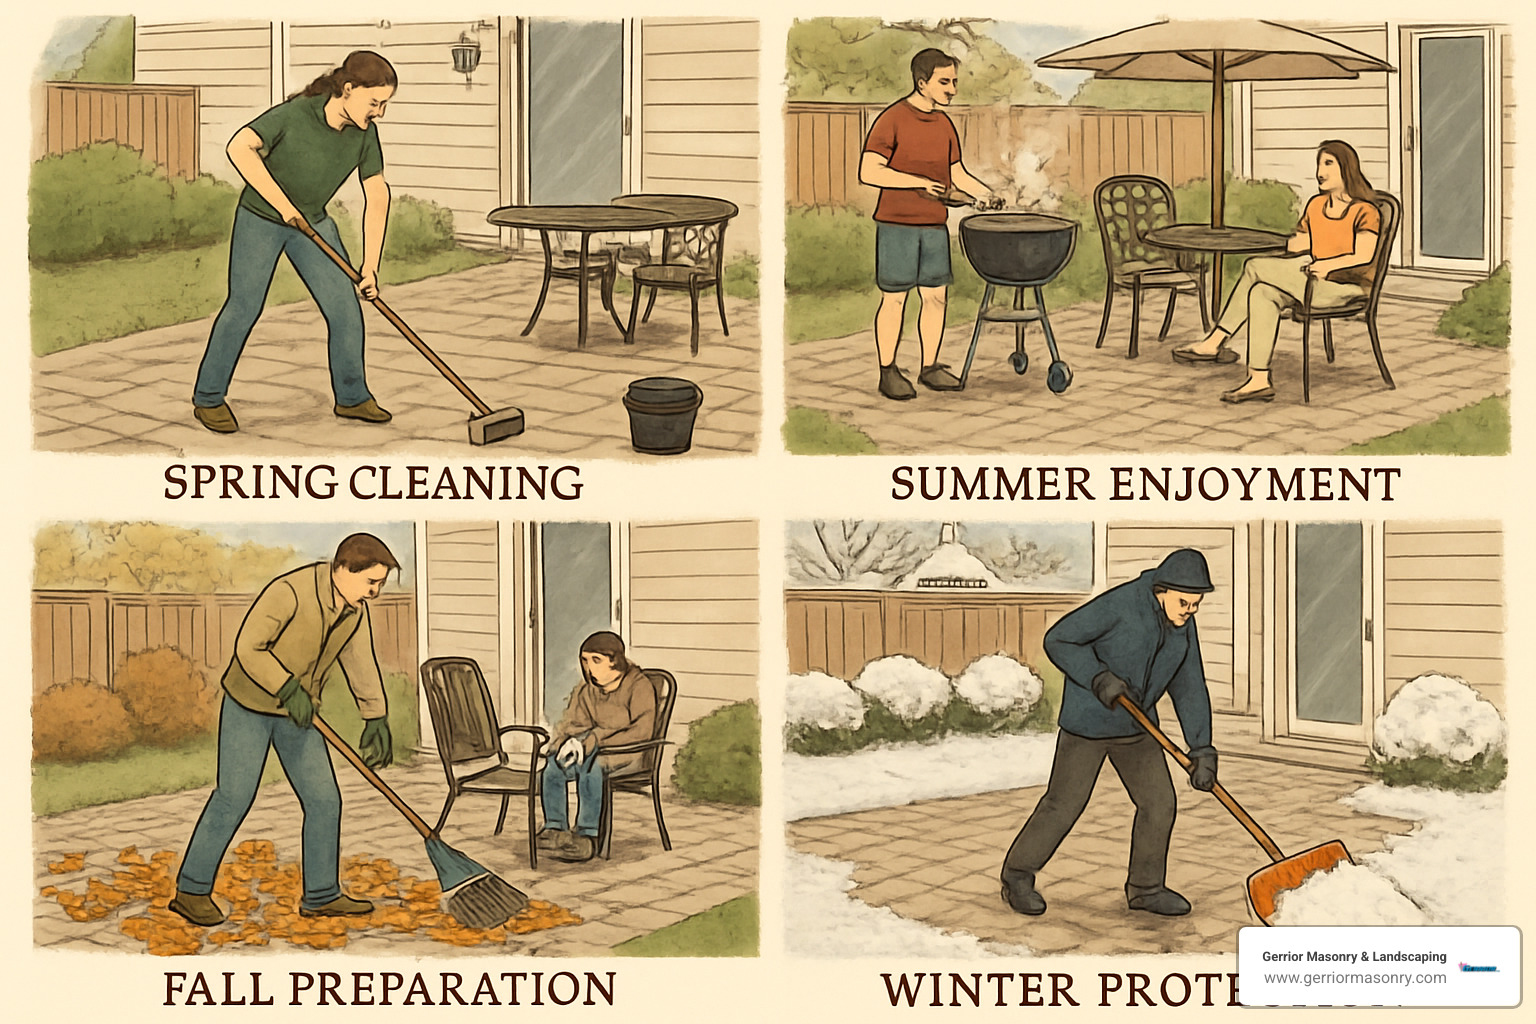
Seasonal Care Checklist
To keep your patio looking its best:
Spring:
– Inspect for winter damage or shifted pavers
– Clean with a mild detergent and stiff brush
– Replenish polymeric sand in any joints that have eroded
– Check for and correct any drainage issues
Summer:
– Remove stains promptly with appropriate cleaners
– Keep joints free of debris
– Pull any weeds that may appear
Fall:
– Remove fallen leaves regularly to prevent staining
– Clean and store patio furniture
– Consider applying sealer before winter if it’s been 3+ years
Winter:
– Use plastic snow shovels instead of metal to prevent scratching
– Avoid deicing chemicals that can damage concrete or brick
– Use sand for traction instead of salt when needed
Hiring Pros vs DIY: Cost of Installing Patio
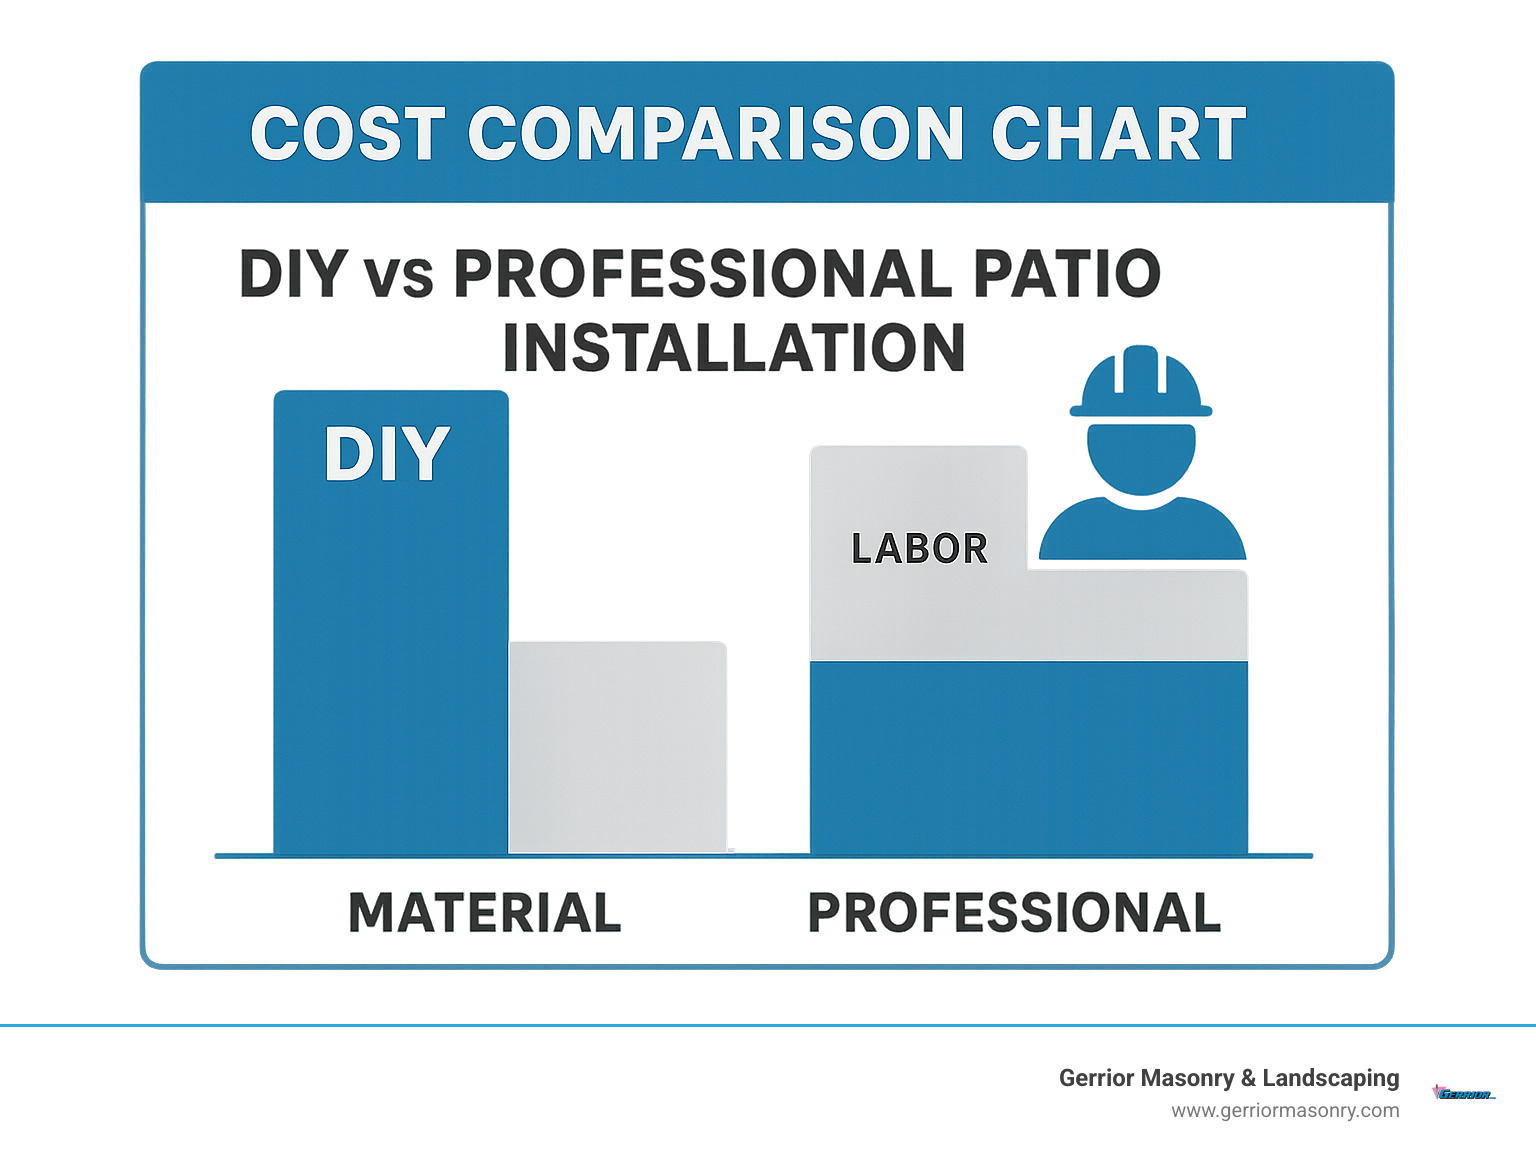
When deciding whether to DIY or hire professionals, consider both costs and quality:
DIY Costs (materials only, average pricing based on internet data):
– Concrete pavers: $2.25-$11 per square foot
– Brick pavers: $4-$15 per square foot
– Natural stone: $3-$30 per square foot
– Base materials, sand, and edging: $1-$3 per square foot
– Tool rental: $100-$300 for a weekend
Professional Installation (materials and labor, average pricing based on internet data):
– Basic installation: $15-$30 per square foot
– Premium installation with upgrades: $25-$50 per square foot
– Complex designs or difficult access: $30-$75 per square foot
DIY projects can save up to 45% in labor costs but require significant time investment—typically a full weekend for a small patio (10′ x 10′) or several weekends for larger projects.
“The question isn’t just about money,” says our team. “It’s about expertise, time, and physical ability. Some of our clients start DIY patio projects only to call us halfway through when they realize the complexity involved.”
Conclusion
Installing patio pavers is a significant project that transforms your outdoor living space while adding value to your home. Whether you choose to DIY or hire professionals, understanding the process helps ensure quality results.
Remember these key points for success:
– Never skimp on base preparation—it’s the foundation of a lasting patio
– Maintain proper slope (1″ per 4′) for drainage
– Use quality materials, especially for the often-overlooked components like edge restraints
– Take your time with each step, particularly screeding the sand bed
– Consider your climate—in Massachusetts, frost-resistant base construction is essential
For those in Middlesex and Essex County who prefer to leave the heavy lifting to the experts, Gerrior Masonry & Landscape Construction offers professional patio design and installation services. Our team brings over three decades of experience to every project, ensuring beautiful, durable results that stand the test of time.
For more information about our patio design and installation services, visit our Patio Design & Installation page.
Gerrior Masonry & Landscaping, based in Woburn MA, proudly serves Middlesex and Essex County homeowners with expert patio, walkway and masonry solutions. From Arlington to Wilmington, Bedford to North Reading, and throughout the greater Boston area, we’re your local experts for changing outdoor spaces.