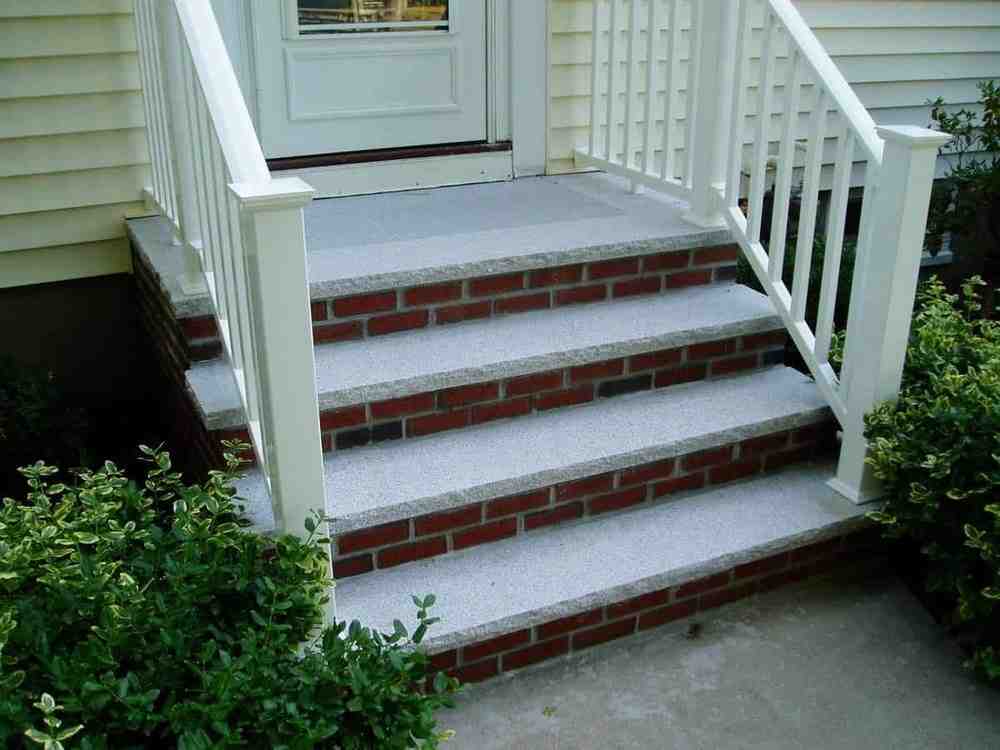
Brick Mortar Repairs: Top 5 Essential Products 2025
The Crumbling Crisis: Why Brick Mortar Repairs Matter
If you’re searching for effective brick mortar repair solutions, here’s what you need to know right away:
Quick Brick Mortar Repair Guide:
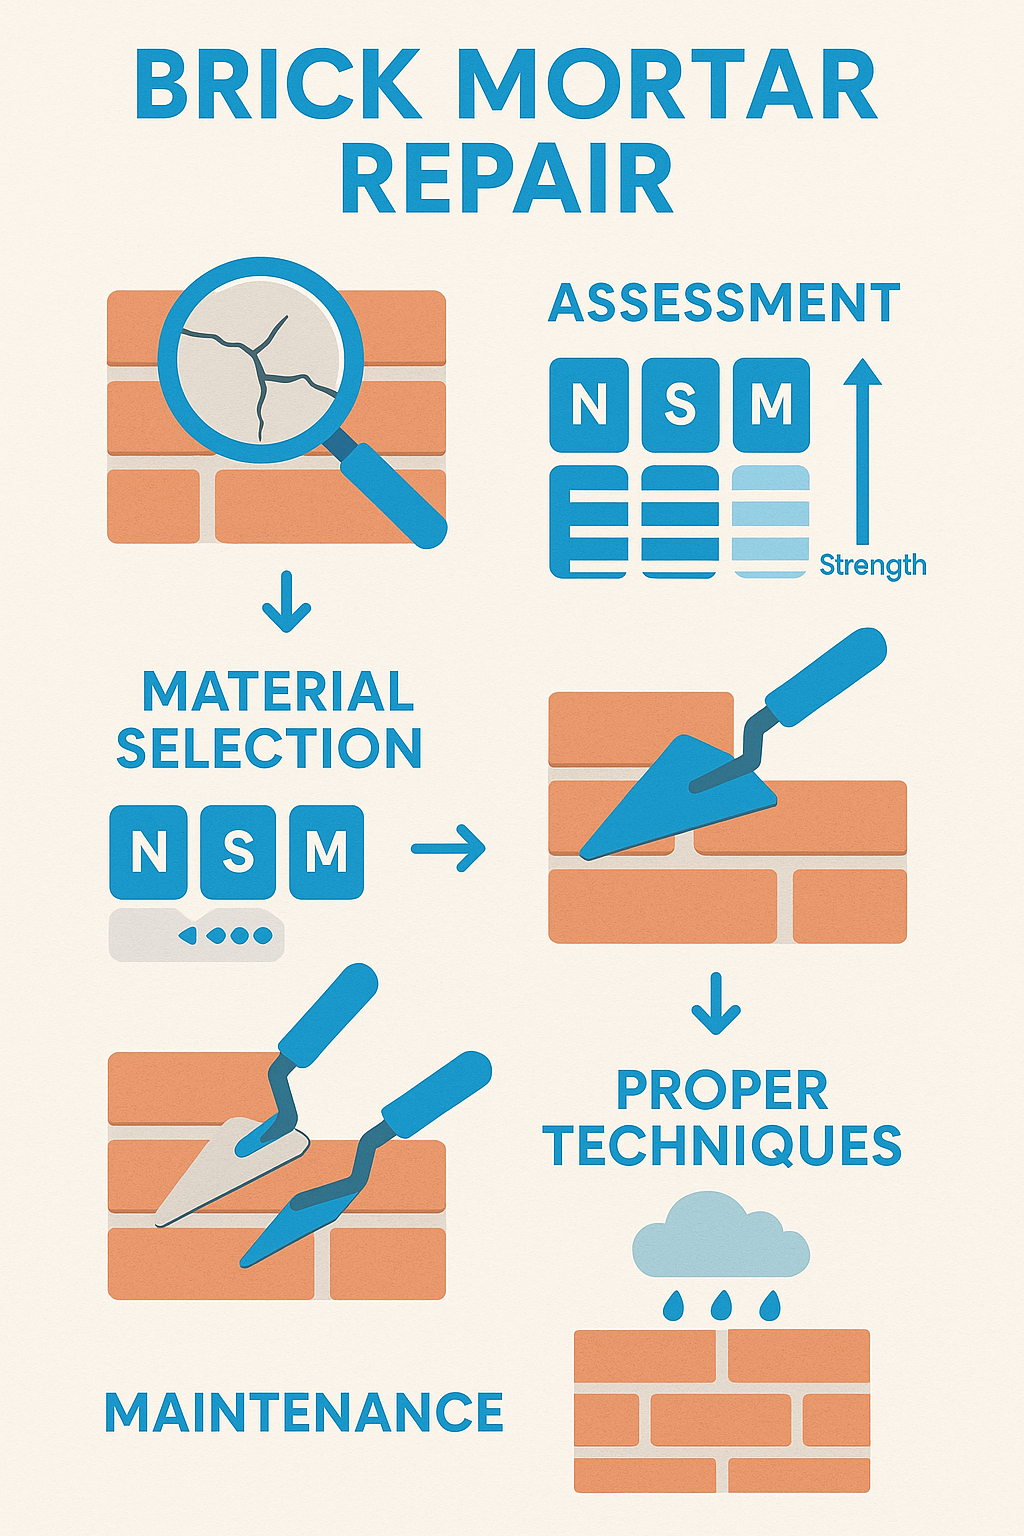
1. Assess damage – Look for cracked, crumbling, or missing mortar
2. Remove damaged mortar to a depth of 2-2.5 times the joint width
3. Clean the joints thoroughly and dampen the area
4. Apply appropriate mortar (Type N for most exterior uses)
5. Tool and finish joints to match existing pattern
6. Allow proper curing by keeping moist for 2-3 days
Brick mortar repair is essential for maintaining both the structural integrity and appearance of your brick structures. Without proper maintenance, what starts as minor cracking can quickly escalate into serious structural issues, water damage, and costly repairs. Mortar typically deteriorates over 20-30 years depending on weather conditions and exposure, making periodic inspection and repair a necessary part of home maintenance.
As one expert notes, “Even the most beautiful brickwork is just so much rubble without a bed of mortar to seal and hold it together.” This simple truth underscores why addressing mortar damage promptly is crucial – it prevents small problems from becoming major headaches.
I’m Joe Gerrior, owner of Gerrior Masonry & Landscape Construction Corp., and I’ve been performing professional brick mortar repair throughout Massachusetts for over three decades, helping homeowners restore and preserve their masonry structures with proper techniques and materials.
Understanding Brick Mortar Repairs
Before diving into the products that will help you win the battle against deteriorating brick mortar, it’s important to understand what exactly brick mortar repair involves and why it’s so crucial for maintaining your masonry structures.
What Is Brick Mortar Repair?
Brick mortar repair, often called repointing or tuckpointing, is the process of removing damaged, deteriorating, or crumbling mortar from between bricks and replacing it with fresh mortar. Think of it as giving your brickwork a new lease on life! This restoration technique preserves the structural integrity of brick walls, chimneys, foundations, and other masonry features that might otherwise start to show their age.
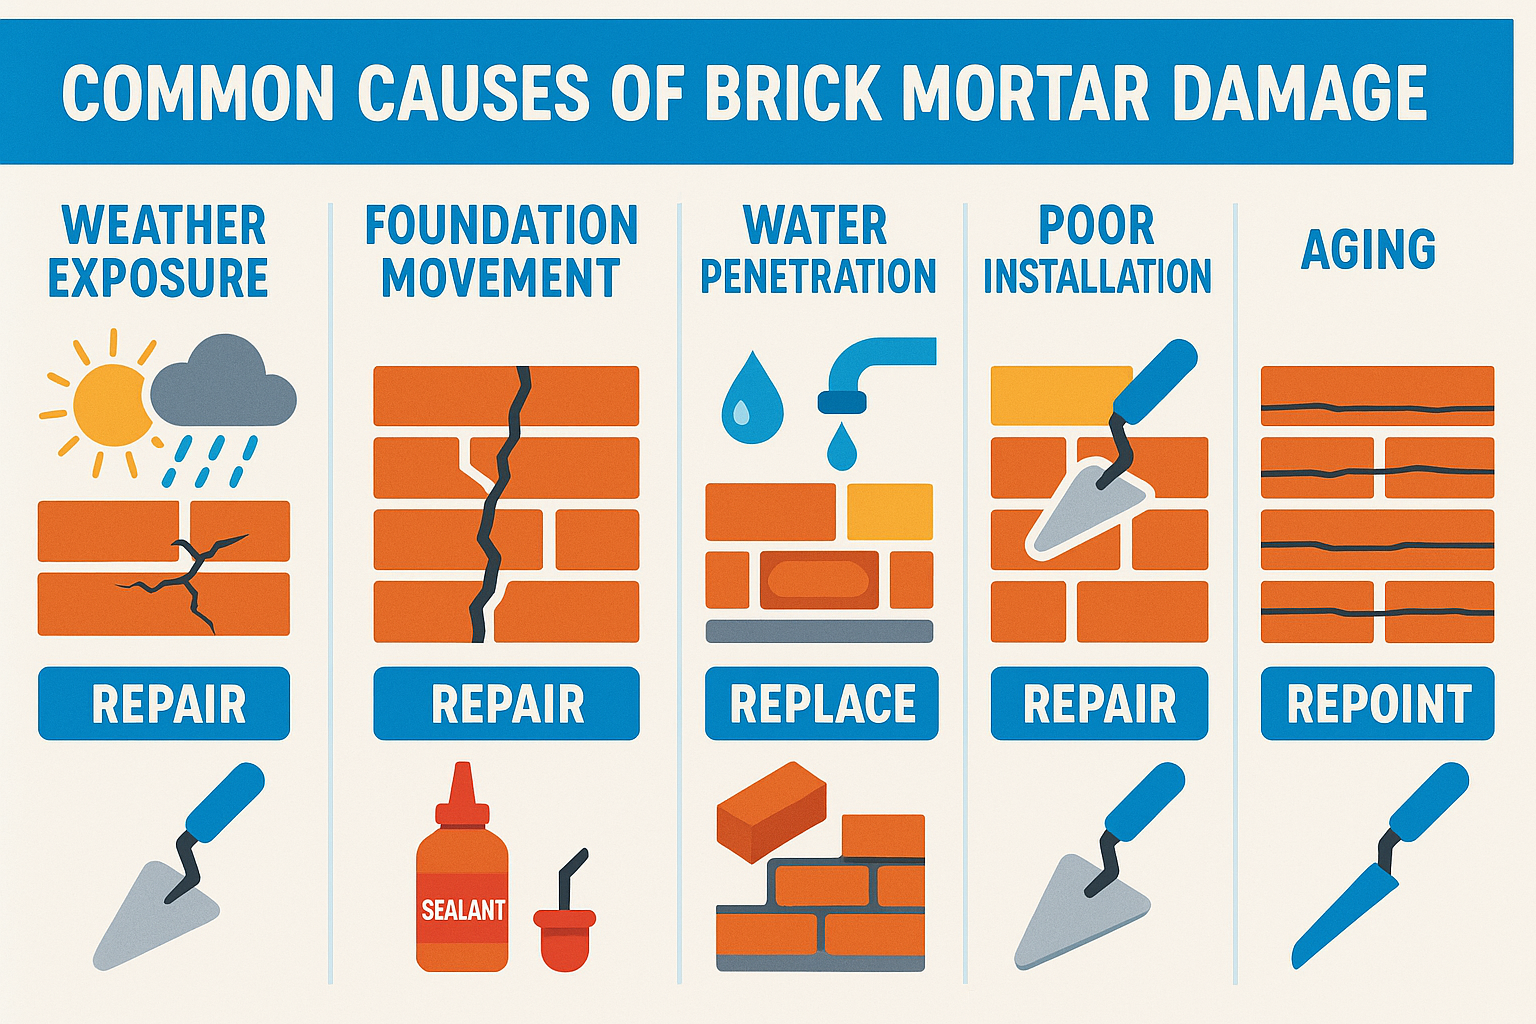
Mortar is essentially the glue that binds bricks together into a unified structure. Over time, this binding material can deteriorate due to weather exposure, moisture sneaking in, foundation movement, or simply the passage of years. When mortar begins to fail, it’s not just an eyesore – it compromises your entire structure’s stability.
During my 30+ years with Gerrior Masonry & Landscaping, I’ve seen countless homeowners wait too long to address mortar issues. As my colleague Marc McCollough wisely puts it, “Major brick and mortar repairs are costly. However, prompt mortar repair can help keep small problems from becoming large ones.” That’s exactly the preventative approach we’ve championed throughout our decades of service.
Why Is Brick Mortar Repair Necessary?
The importance of brick mortar repair goes far deeper than just making your home look nice (though that’s certainly a bonus!). Here’s why addressing mortar damage promptly should be on your priority list:
First and foremost, structural stability is at stake. Mortar distributes weight evenly across your brickwork, and when it deteriorates, it creates uneven pressure points that can lead to structural failure. I’ve seen small mortar cracks turn into significant structural issues after just a few New England freeze-thaw cycles.
Healthy mortar also provides water resistance. When mortar cracks or crumbles, water sneaks behind the brickwork, potentially damaging interior walls, promoting mold growth, and even rotting wooden structural elements. In our Massachusetts climate, this water can freeze and expand, creating even more damage to both the mortar and surrounding bricks.
Don’t forget about energy efficiency – properly maintained mortar helps insulate your home by preventing air leakage through the walls. It also acts as a barrier against pests, as crumbling mortar creates perfect entry points for insects and small rodents looking for a cozy home.
Finally, well-maintained brickwork significantly improves curb appeal and preserves property value. I’ve seen homes with well-maintained masonry sell for significantly more than similar properties with deteriorating brickwork.
In our experience at Gerrior Masonry, neglected mortar damage can escalate surprisingly quickly, especially after harsh Massachusetts winters. What begins as a hairline crack in autumn can become a serious structural concern by spring thaw.
Can You Mortar Over Old Mortar?
This is one of the most common questions homeowners ask me, and I understand why – it seems like the quick and easy solution. But as with most shortcuts in masonry, there’s more to consider.
Generally speaking, applying new mortar directly over old, damaged mortar is not recommended. It’s a bit like putting a fresh coat of paint over peeling paint – it might look good momentarily, but it won’t solve the underlying problem.
New mortar simply doesn’t bond well to old, deteriorated mortar, which leads to premature failure of your repair. This approach can also trap moisture behind the repair, causing further deterioration from the inside out. And aesthetically, simply covering damaged mortar often results in an uneven, patchy appearance that draws more attention to the problem area.
That said, there are some nuances worth understanding:
For modern structures built after the 1940s that use portland cement-based mortar, minor repairs to mortar that is still largely intact might sometimes be accomplished with a thin layer of matching mortar. Even then, removing at least some of the damaged material gives you a much better result.
For historic structures built before World War II, applying new mortar over old is absolutely not recommended. These older homes typically used lime-based mortars that are softer and more flexible than modern varieties. Applying modern, harder mortar over these can actually damage your soft, old bricks and cause more problems down the line.
As one mason I’ve worked with likes to say, “The guy doing the next repointing might curse your decision” if you simply layer new mortar over old. It makes future repairs much more difficult and potentially damaging to the bricks themselves.
At Gerrior Masonry, we follow best practices by removing damaged mortar to a depth of approximately 2 to 2-1/2 times the width of the joint (typically 3/4 to 1 inch deep), cleaning the area thoroughly, and then applying new, properly matched mortar. This approach takes a bit more time upfront but saves significant headaches and expenses down the road.
For more comprehensive information about masonry repair techniques, check out our detailed guide on Brick Masonry Repair.
Top 5 Essential Products for Effective Brick Mortar Repair
Now that we understand why brick mortar repair matters, let’s talk about the products that will help you get the job done right. After three decades of repairing brickwork throughout Massachusetts, I’ve narrowed down the essential tools and materials that deliver professional results every time.
High-Quality Mortar Mixes for Repair
Choosing the right mortar mix is absolutely crucial for successful brick mortar repair. Think of mortar as the backbone of your repair project—it needs to match your existing brickwork in strength, flexibility, and appearance.
Type N mortar is what we use most often for residential brick walls. It strikes that perfect balance between strength (about 750 psi) and flexibility, making it ideal for most above-grade exterior walls. Some reliable brands include QUIKRETE Mason Mix Type N, SAKRETE Type N, and SPEC MIX Type N Masonry Cement & Sand.
For homes built before the 1940s, you’ll want to consider lime-based mortar instead. These traditional mixes are softer and more breathable than modern portland cement mortars, which is exactly what older bricks need. Your historic home will thank you for using lime putty mortar, Natural Hydraulic Lime (NHL) mortars, or a custom-matched historic blend.
Matching your existing mortar isn’t just about aesthetics—it’s essential for the long-term health of your brickwork. As the National Park Service research shows, using mortar that’s too hard can actually damage your bricks over time. At Gerrior Masonry, we often create custom blends that match both the look and performance of the original mortar, ensuring repairs that stand the test of time while blending seamlessly with your home.
Masonry Repair Sealants
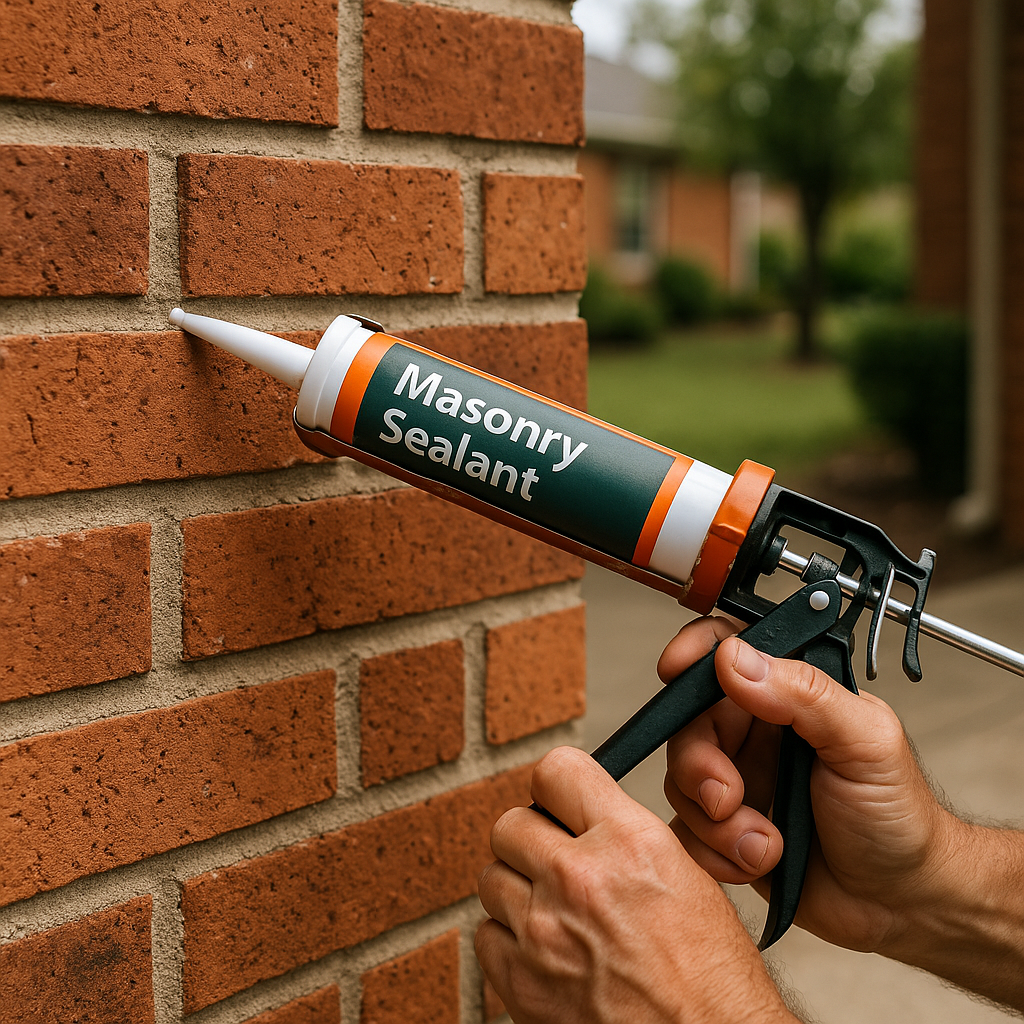
For those smaller cracks and minor touch-ups, masonry repair sealants can be a real lifesaver. These products come in handy when you don’t need to undertake a full repointing job.
Acrylic-based sealants have become our go-to for hairline cracks less than 1/8 inch wide. They offer excellent flexibility and adhesion, and many come in colors designed to blend with common mortar shades. Products like QUIKRETE Mortar Repair, Sika Sikaflex Mortar Fix, and DAP Concrete and Mortar Filler have saved many homeowners from more extensive repairs.
I recently heard from a customer who used QUIKRETE’s Mortar Repair sealant on her garage: “I fixed the mortar between my bricks by myself, and it turned out beautifully. The color match was perfect!” That’s what we love to hear.
When shopping for a masonry sealant, look for one with a textured finish that mimics real mortar, weather resistance, and a square applicator tip designed specifically for mortar joints. These products are perfect for DIY repairs of small cracks, touch-ups, and sealing joints around windows and doors.
Just remember—while these sealants are convenient, they’re not replacements for proper repointing when your mortar has significantly deteriorated. Think of them as a maintenance measure or a temporary fix until you can schedule more comprehensive repairs.
Tuckpointing Tools and Equipment
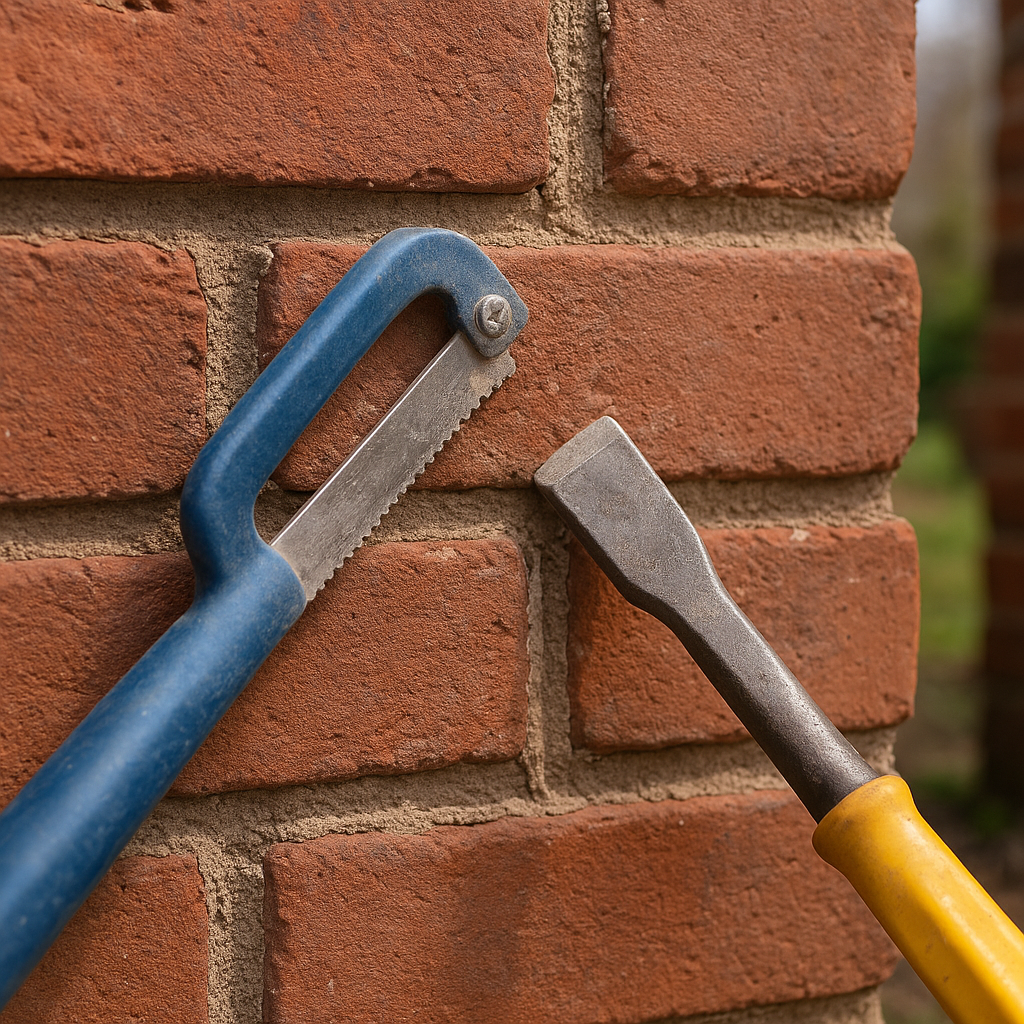
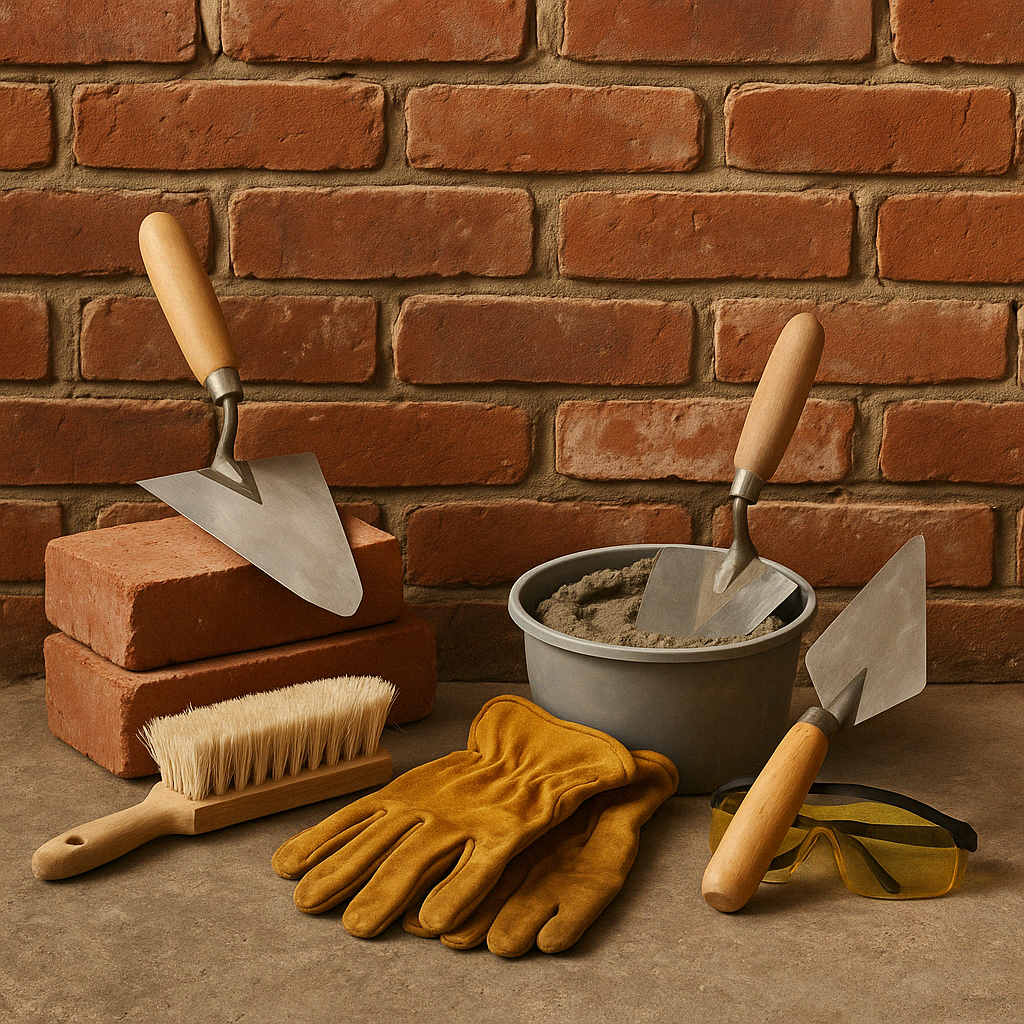
Quality brick mortar repair requires the right tools—there’s simply no way around it. Having the proper equipment makes all the difference between a repair that lasts decades and one that fails within a year.
For removing old mortar, you’ll need tools like a grout saw or joint raker for hand scraping, or an angle grinder with a diamond blade for larger projects. Just remember to use proper dust collection if you go the power tool route—silica dust is nothing to mess with!
When it’s time to apply fresh mortar, reach for a pointing trowel for vertical joints and a tuckpointing trowel for horizontal ones. A hawk will hold your mortar while you work, and jointer tools in various sizes will help you match your existing mortar joint profiles. For those tight spots, a mortar bag works just like a pastry bag, giving you precise control.
As one of my mentors used to say, “First, do no harm.” Using the proper tools helps ensure you don’t damage the bricks while removing old mortar, which could create even bigger headaches down the road.
For homeowners tackling DIY repairs, I recommend investing in at least a quality pointing trowel, appropriate jointer, and the right tools for mortar removal based on your project’s scale. Good tools might cost more upfront, but they pay for themselves in better results and fewer do-overs.
Mortar Color Matching Solutions
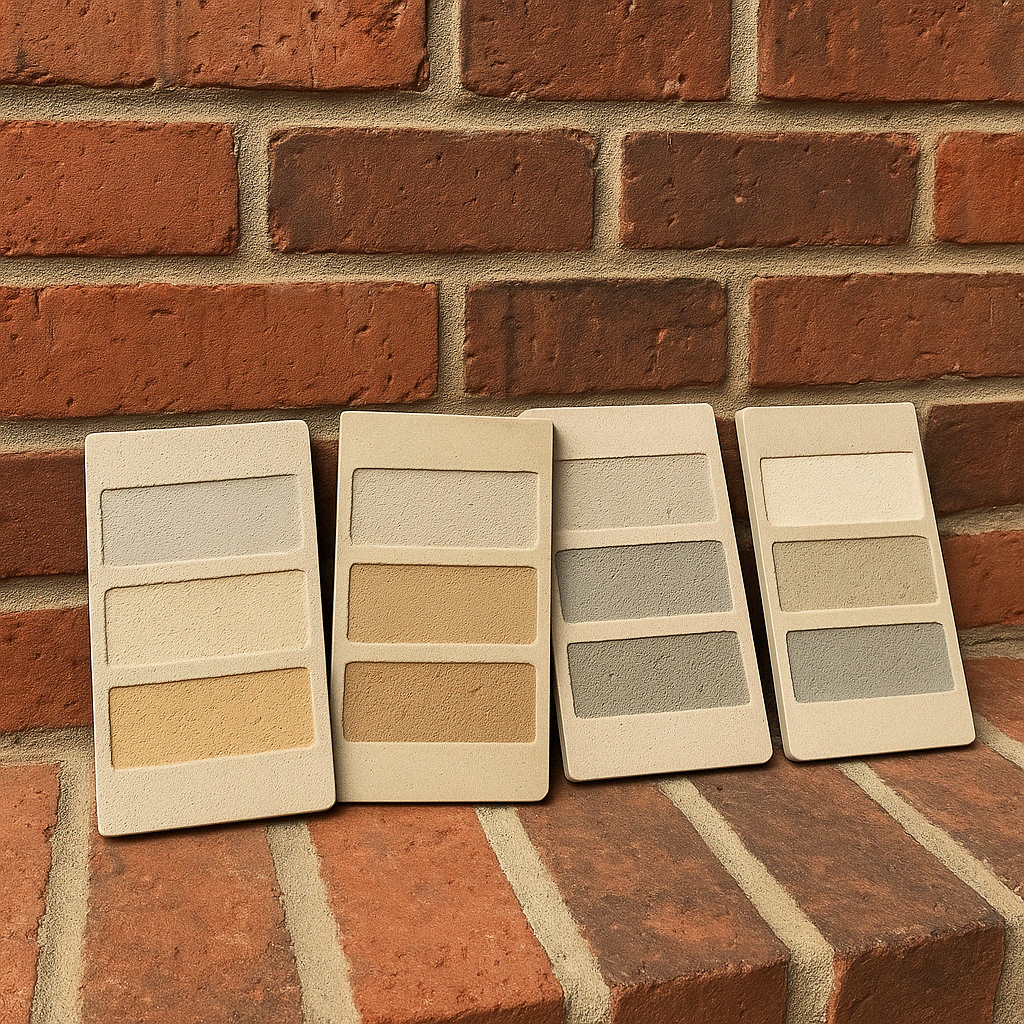
Nothing gives away a repair job faster than mismatched mortar color. Getting this right is both art and science, but the right products can make it much easier.
Mortar pigments and dyes like Solomon Colors Mortar Colors, QUIKRETE Stucco & Mortar Color, and Buddy Rhodes Concrete Pigments allow you to customize standard mortar to match your existing color. When using these products, always start with less pigment than you think you need—you can always add more, but you can’t take it away! Also remember that mortar lightens significantly as it dries, so test in a small area first.
For convenience, look into pre-colored mortar repair products that come in various shades. QUIKRETE Mortar Repair and Sakrete Mortar Colors offer multiple options that might save you the trouble of custom mixing.
For historically significant buildings or when perfect matching is crucial, don’t hesitate to use professional color matching services. At Gerrior Masonry, we often take samples of existing mortar to create custom-matched blends for our restoration projects. This attention to detail ensures repairs that would make even the original mason proud.
Remember what one of my colleagues always says: “Matching brick mortar for repair involves more than just color—it requires matching the composition formula, compressive strength, and ratio of the original mortar.” Truer words were never spoken in our industry.
Complete Masonry Repair Kits

For homeowners facing smaller brick mortar repair projects, complete repair kits offer a convenient all-in-one solution. Think of them as the “starter pack” for brick repair—they typically include the essential materials and sometimes basic tools needed to get the job done.
A quality repair kit should include appropriate mortar type (usually Type N for most exterior uses), color options to match your existing mortar, basic application tools for both removing old mortar and applying new, and clear instructions that walk you through the process step by step. You’ll also want to make sure there’s sufficient quantity to complete your project—running out halfway through is no fun!
Products like the QUIKRETE Brick & Mortar Repair Kit, Rutland Tuckpointing Kit, and various DIY Brick Repair Kits with training materials have helped many of our customers handle small repairs between our professional visits.
These kits are perfect for small repair projects (typically under 10 square feet), homeowners new to masonry repair, emergency temporary fixes, or testing techniques before tackling larger projects. My customers often tell me these kits gave them the confidence to try basic repairs themselves.
While these all-in-one solutions offer convenience, they do have limitations. For larger projects or repairs requiring precise color matching, assembling individual components often yields better results. However, for small maintenance repairs, these kits can be excellent starting points for the DIY-minded homeowner.
At Gerrior Masonry & Landscape Construction, we’re always happy to recommend the right products for your specific project, whether you’re tackling it yourself or bringing in our professional team. We’re based in Woburn, MA, and proudly service Middlesex and Essex County, Massachusetts with expert masonry repair services.
How to Choose the Right Brick Mortar Repair Products
When it comes to selecting products for your brick mortar repair project, making the right choices can mean the difference between a repair that lasts decades and one that fails within months. Throughout my 30+ years at Gerrior Masonry, I’ve learned that successful repairs start with understanding what your specific project needs.
The age of your building is perhaps the most important factor to consider. If you’re working on a pre-1940s home, you’ll need softer, lime-based mortars that allow the structure to “breathe” and move naturally with seasonal changes. Modern structures built after the 1940s typically do well with standard Type N mortar for most repairs. And if you’re fortunate enough to own a historic or landmark building, you may need to meet specific preservation requirements with specially formulated mortars.
“I’ve seen too many beautiful old homes damaged by well-intentioned repairs using the wrong mortar,” shares one of our senior masons. “Using modern, hard portland cement on a 19th-century building is like putting steel-toed boots on a ballet dancer—it just doesn’t work.”
The extent of damage also dictates your product choices. Those hairline cracks under 1/8″ wide? A quality mortar repair sealant might do the trick. For moderate deterioration where mortar has receded or crumbled, proper repointing with matching mortar is necessary. When you’re facing extensive damage, where bricks are loose or walls are bulging, it’s time for a comprehensive assessment—this is when most homeowners call us in for professional help.
Where the repair is located matters tremendously. Above-grade exterior walls generally do well with Type N mortar, which offers a good balance of strength and flexibility. Below-grade applications or retaining walls might need the additional strength of Type S mortar. Chimneys and parapets, which face the harshest weather conditions, require specially formulated weather-resistant mortars. For interior masonry, you can often use softer Type O mortar.
Color matching becomes crucial in highly visible areas of your home. I’ve seen homeowners who did structurally sound repairs but were unhappy with the results because the new mortar stood out like a sore thumb against the old. For front facades and areas where appearance matters, invest in proper color matching solutions. For utilitarian structures like garden walls or backyard features, functionality might take priority over perfect color matching. Historic preservation projects almost always require custom color matching services—something we take particular pride in at Gerrior Masonry.
The size of your project influences your product selection too. For small DIY repairs covering just a few square feet, complete repair kits offer convenience and simplicity. Medium-sized projects benefit from individually selected components custom to your specific needs. Large restorations call for professional-grade materials and tools that can handle the scope of work.
Your own skill level and time constraints should also factor into your decision. If you’re new to DIY masonry, pre-mixed products and repair kits offer simplicity and reduce the chance of mixing errors. Experienced home improvers might benefit from custom mortar mixes that allow precise control over consistency and color. And if you’re racing against the clock before, say, winter arrives, quick-setting products might be appropriate, though they often come with tradeoffs in workability.
| Product Type | Best For | Skill Level | Durability | Cost Range |
|---|---|---|---|---|
| Type N Mortar Mix | General exterior repairs | Intermediate | 20-30 years | $15-$25 per bag |
| Lime-Based Mortar | Historic structures | Advanced | 50+ years with proper maintenance | $30-$100 per bag |
| Mortar Repair Sealant | Small cracks, quick fixes | Beginner | 5-10 years | $8-$15 per tube |
| Complete Repair Kit | Small DIY projects | Beginner | Varies by product | $25-$75 per kit |
| Custom Color-Matched Mortar | Visible repairs on distinctive masonry | Intermediate | 20+ years | $75-$350 per batch |
We’ve found that investing in higher quality materials usually pays off in the long run. A $15 difference in material cost might translate to a repair that lasts decades longer. As one of my mentors used to say, “I’m not rich enough to buy cheap tools”—the same principle applies to masonry repair materials.
If you’re feeling overwhelmed by all these choices, you’re not alone. Many homeowners find that a quick consultation with a professional can save them money and frustration in the long run. Whether you decide to tackle the repair yourself or bring in experts, understanding these factors will help you make more informed decisions.
At Gerrior Masonry & Landscaping, based in Woburn, MA, we’ve been helping homeowners throughout Middlesex and Essex County, Massachusetts make the right choices for their masonry repairs for over three decades. We’re always happy to provide guidance, even if you’re planning to handle the work yourself.
Frequently Asked Questions about Brick Mortar Repair
Can You Put New Mortar Over Old Mortar in Brick Mortar Repair?
I get this question all the time from homeowners hoping for a quick fix, and I wish I could say yes – but the truth is a bit more nuanced.
While it might seem like a time-saver to simply layer new mortar over old, this approach typically leads to headaches down the road. Think of it like putting a fresh coat of paint over peeling paint – it might look good for a moment, but it won’t last.
Why it’s generally not a great idea:
When you apply new mortar directly over deteriorating mortar, you’re essentially building on a crumbling foundation. The new layer won’t bond properly, often trapping moisture between the layers (a recipe for accelerated damage). Plus, you’re not addressing whatever caused the original damage in the first place. The result? Repairs that fail prematurely and often look patchy and uneven.
As one of our masons likes to say, “Shortcuts in masonry repair are actually the longest route to a lasting fix.”
That said, there are limited exceptions. On relatively new structures (less than 50 years old) with minor surface deterioration, a thin layer of matching mortar might work as a temporary fix. But for homes built before the 1940s, this approach is particularly problematic – modern mortars are typically harder than historic lime-based mortars and can actually damage older, softer bricks.
The proper approach we follow at Gerrior Masonry is to remove the damaged mortar to a depth of about 2 to 2-1/2 times the width of the joint (typically ¾-1 inch), clean out all debris, dampen the area, and then apply new, properly matched mortar. This creates a strong mechanical bond that will stand the test of time.
How Do You Fill in Broken Mortar During Brick Mortar Repair?
Filling broken mortar joints properly is both an art and a science. Here’s how we approach it after 30+ years in the business:
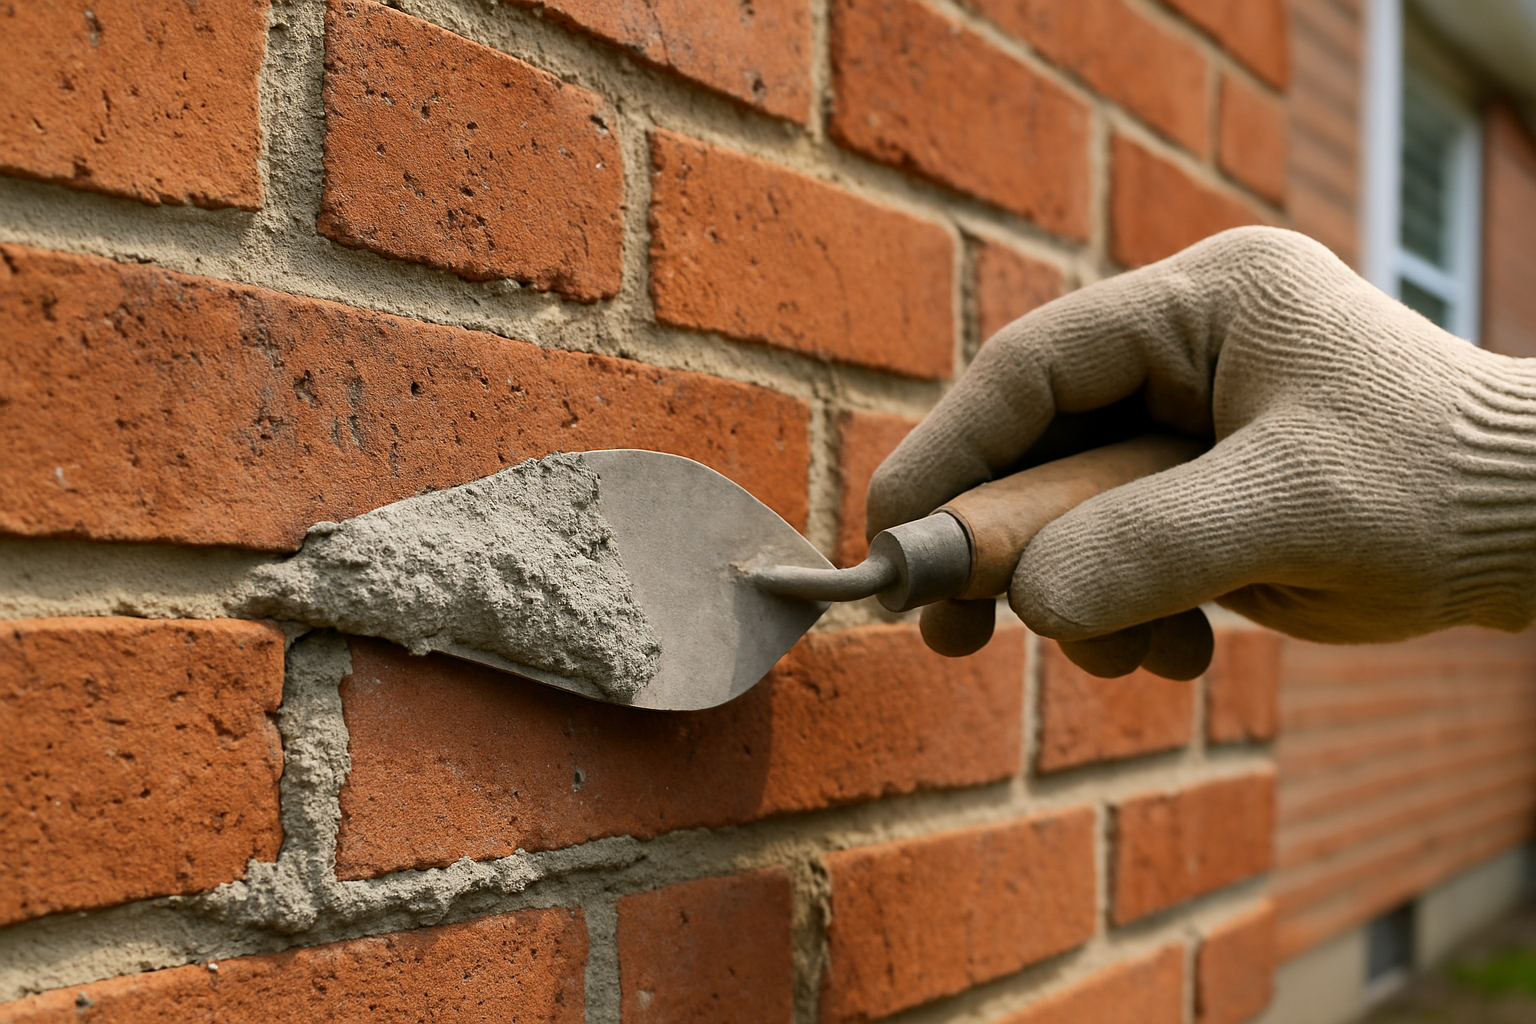
Start with thorough preparation – this step makes all the difference. Use appropriate tools (a grinder with a diamond blade for larger areas or a joint raker for smaller repairs) to remove all damaged mortar to a depth of about ¾ to 1 inch. Then clean out all dust and debris using a brush and water or compressed air. The joint should be damp (but not soaking wet) when you begin – this prevents the porous bricks from sucking moisture out of your new mortar too quickly.
Mix your mortar to the right consistency – you’re looking for something like peanut butter that’s workable yet firm enough to stay on your trowel. For small repairs, only mix what you can use within 30-60 minutes. A pro tip we’ve learned: let the mortar rest for about 15 minutes after initial mixing, then remix before use. This “slaking” period improves workability tremendously.
Apply with care and patience. For horizontal joints (bed joints), use a pointing trowel to push mortar firmly into the joint. For vertical joints (head joints), a smaller trowel or even a mortar bag (like a pastry bag) works well for precision. If you’re filling deep joints, work in layers rather than trying to pack it all at once.
Finishing makes all the difference in how your repair looks. Once the mortar has firmed up enough to hold a thumbprint without being too soft (usually 30-60 minutes depending on weather), use a jointer tool to match the profile of your existing joints. Immediately clean any mortar smears from brick faces with a damp sponge. For repairs on older buildings, we often lightly brush the joint with a soft brush after initial set to give it a weathered look that matches the existing mortar.
Proper curing is crucial but often overlooked. Protect your fresh repair from direct sunlight, wind, and rain for the first 24-48 hours. The secret to strong mortar is keeping it damp during curing – mist it with water several times daily for at least three days. As one of our veteran masons always says, “Mortar doesn’t dry – it cures. And it gets stronger the longer it stays damp.”
What Is the Difference Between Cement and Mortar in Brick Mortar Repair?
This confusion trips up many DIYers, and using the wrong material is one of the most common mistakes we see in failed brick mortar repairs.
Cement is an ingredient; mortar is a mixture. Think of cement as flour and mortar as the complete bread dough. Portland cement is a fine powder that, when mixed with water, creates a paste that hardens. It’s incredibly strong but also rigid and inflexible on its own.
Mortar, on the other hand, is a carefully formulated mixture typically containing cement, sand, lime, and water. It’s specifically designed to bond masonry units together while accommodating the natural movement that occurs in all buildings. Good mortar is actually softer and more flexible than the bricks it connects – this is by design!
Different mortar types (N, S, M, O) have varying strengths for different applications. For most residential brick mortar repair, Type N provides the ideal balance of strength and flexibility.
Using straight cement or concrete mix for mortar repairs is a bit like using super glue when you need rubber cement – it’s too rigid and doesn’t allow for the natural expansion and contraction that happens with temperature changes. This rigidity often leads to cracked bricks, poor adhesion, and moisture problems.
I’ll never forget a repair job we took on where a well-meaning homeowner had used concrete mix instead of proper mortar to repair their historic brick foundation. Within a year, the surrounding bricks had begun to crack and spall because the rigid concrete forced all movement into the softer brick instead of absorbing it within the joints as proper mortar would have done.
The bottom line: always use the appropriate mortar type for your specific masonry repair needs. Your bricks will thank you with decades of trouble-free performance.
Gerrior Masonry & Landscape Construction is based in Woburn, MA, and services Middlesex and Essex County, Massachusetts.
Conclusion
When it comes to brick mortar repair, having the right products in your toolbox makes all the difference between a repair that lasts decades and one that fails within months. After 30+ years of repairing Massachusetts masonry, I’ve seen how proper materials and techniques can save homeowners thousands in the long run.
Think of your brick structure as a living, breathing entity. The mortar joints are like the connective tissue holding everything together—when they begin to fail, the entire system becomes compromised. That’s why selecting compatible materials is so crucial. Your repair mortar should match the existing mortar not just in appearance, but in strength and composition. Using mortar that’s too hard for older bricks is like putting steel hinges on a wooden antique door—it might seem stronger, but it’ll eventually damage what you’re trying to protect.
Quality tools aren’t just nice to have—they’re essential for precision work. I’ve watched countless DIYers struggle with improper equipment, often causing more damage than they fix. A good pointing trowel and the right joint raker can make even a novice’s work look professional.
The preparation stage is where most repairs succeed or fail. As my grandfather used to say, “Shortcuts in masonry just mean you’ll be doing the job twice.” Never skip removing damaged mortar, thoroughly cleaning the area, and properly dampening the joints before application. These steps might seem tedious, but they’re the foundation of a lasting repair.
When selecting your repair products, consider your specific project needs. For historical homes with soft, lime-based mortar, using modern Type N mortar can cause irreparable damage. For newer homes with hairline cracks, a quality mortar repair sealant might be perfect. Take time to assess your situation before purchasing materials.
Proper curing is often overlooked but absolutely critical. I remember visiting a client who had carefully repaired their garden wall, only to have it fail because they didn’t keep the new mortar damp during the curing process. Mortar needs moisture to develop strength—think of it as a plant that needs watering to grow strong.
While many homeowners can successfully tackle minor brick mortar repairs with the products we’ve recommended, I’ve learned to recognize when a job requires professional expertise. Extensive damage, historic structures, or uncertain conditions are situations where calling in help can save you time, money, and frustration in the long run.
At Gerrior Masonry & Landscaping, we’ve weathered countless New England winters alongside the masonry structures we’ve built and repaired. We understand that each project has its own unique challenges and requirements. Whether you’re using our recommended products for a DIY weekend project or considering professional assistance, addressing mortar damage promptly will always be your best strategy.
Remember what an old mason once told me: “Bricks can last centuries, but only if the mortar holding them together is maintained.” It’s simple wisdom that has proven true time and again in my decades of experience.
For professional brick mortar repair services or guidance on your masonry project, Gerrior Masonry & Landscape Construction Corp is ready to help. We’re based in Woburn, MA, and service Middlesex and Essex County, Massachusetts, bringing our passion for quality masonry to every project we undertake.
More info about Brick Mortar Repair