
Fire Brick Mortar: 10 Best Powerful Picks in 2025
Why Fire Brick Mortar Makes or Breaks Your High-Heat Project
Fire brick mortar is the specialized, heat-resistant mortar designed to withstand extreme temperatures in fireplaces, pizza ovens, and fire pits. Unlike regular mortar that cracks and fails under heat, fire brick mortar contains refractory materials like calcium aluminate and fireclay that resist temperatures up to 2,550°F.
Quick Fire Brick Mortar Buying Guide:
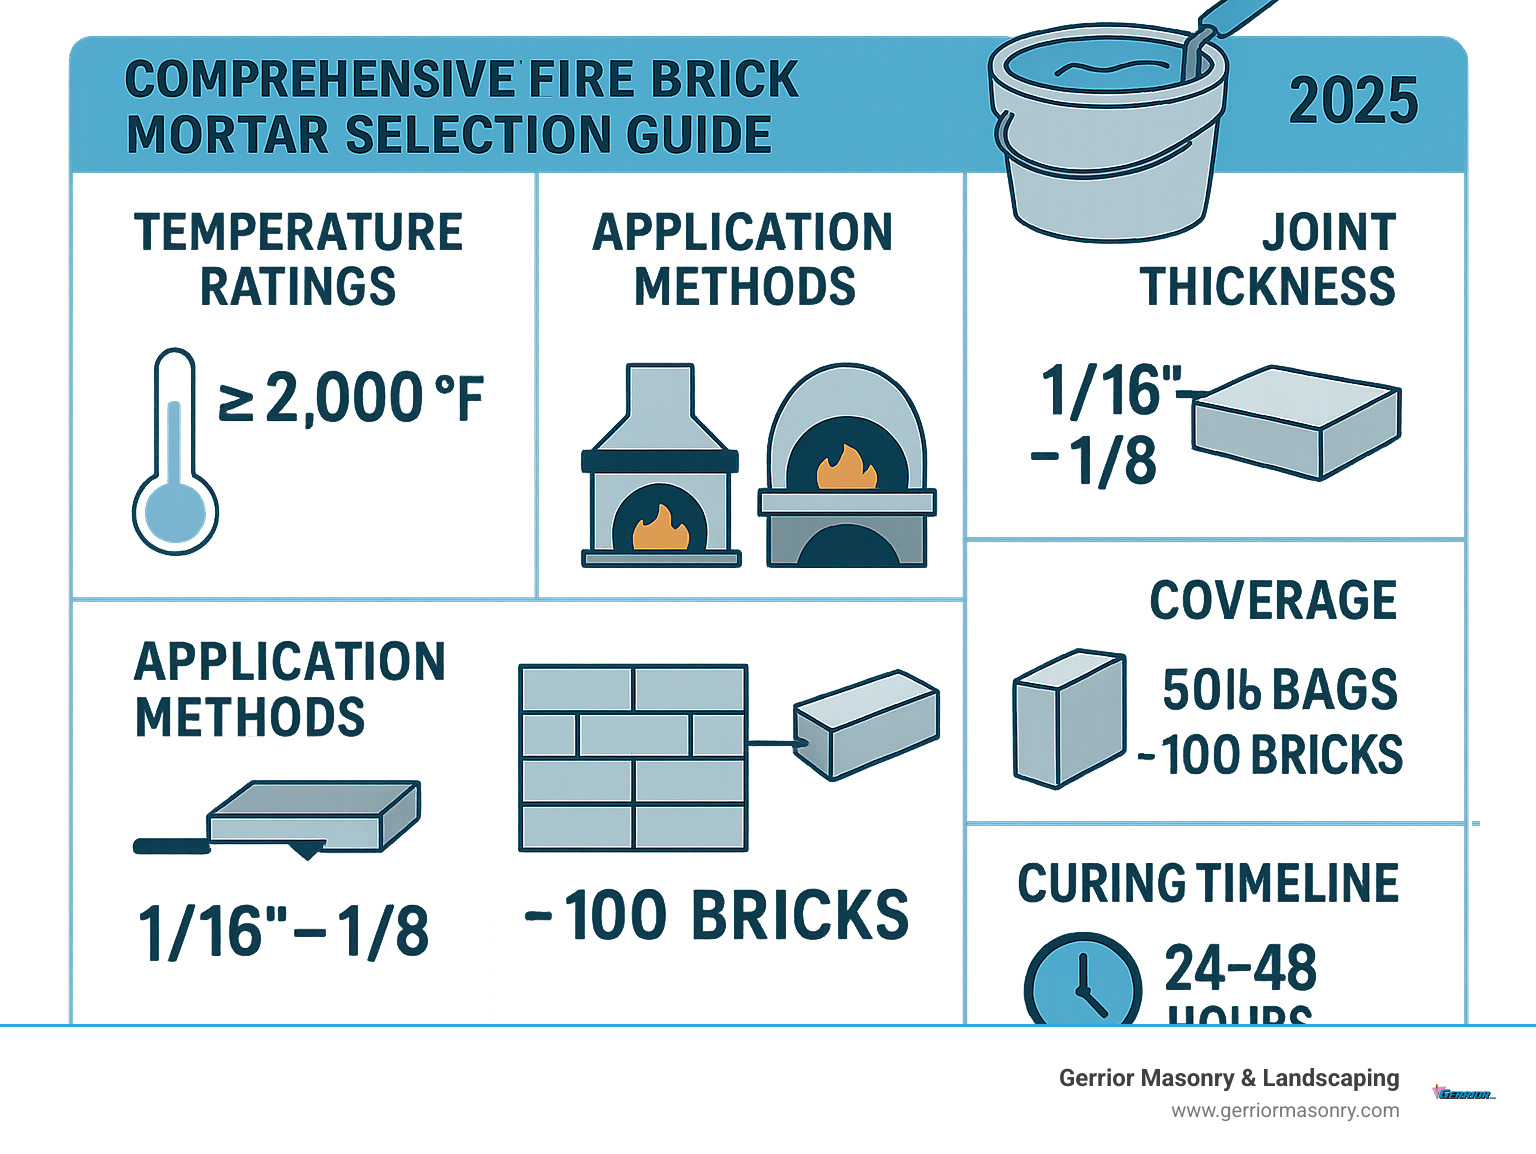
- Temperature Rating: Look for ASTM C-199 compliance (2,000°F+)
- Coverage: 50 lb bag covers ~100 standard firebricks
- Joint Thickness: Apply 1/16″ to 1/8″ thick joints
- Price Range: $35-$180 per 50 lb bag (average costs based on internet data)
- Curing Time: Wait 24-48 hours before first firing
- Best For: Fireboxes, flue linings, pizza ovens, outdoor fire pits
Here’s the reality: regular mortar will crumble when exposed to the intense heat of your fireplace or pizza oven. This shortcut leads to expensive repairs and safety hazards.
The difference comes down to chemistry and code compliance. Fire brick mortar uses high-temperature binders and aggregates that actually get stronger under heat, while meeting modern building codes like NFPA-211 for fireplace construction.
I’m Joe Gerrior, owner of Gerrior Masonry & Landscape Construction Corp., and over 34 years of masonry work, I’ve seen too many DIY fireplace projects fail because homeowners used the wrong fire brick mortar or skipped it entirely.
Fire Brick Mortar 101: The High-Heat Difference
Let’s start with the basics – what exactly is mortar, and why does it matter for your fireplace? Think of cement as the flour in your baking recipe. It’s the binding ingredient that holds everything together. Concrete is cement mixed with gravel and sand, while regular mortar is cement plus sand only.
But fire brick mortar takes this concept to a whole new level with specialized heat-resistant ingredients that can handle the extreme temperatures in your fireplace or pizza oven.
Regular mortar contains Portland cement, which breaks down when exposed to high heat. The calcium carbonate in Portland cement literally falls apart under extreme temperatures, turning your solid joints into crumbly powder.
Fire brick mortar solves this problem with calcium aluminate binders that actually get stronger under heat. It also contains fireclay and silica aggregates that resist thermal shock – that sudden expansion and contraction that happens when your fire heats up quickly.
The National Fire Protection Association established NFPA-211, which specifically requires refractory mortar for fireboxes, smoke chamber parging, and clay flue liner installation. The ASTM C-199 standard classifies refractory mortars by their heat resistance, requiring medium-duty mortars to handle temperatures over 2,000°F.
How does fire brick mortar beat regular mortar?
The difference between fire brick mortar and regular mortar is like comparing a marathon runner to someone who gets winded walking up stairs. Fire brick mortar withstands temperatures up to 2,550°F, while regular mortar starts failing around 1,000°F.
When your fireplace heats up, regular mortar with Portland cement begins breaking down. The joints crack, bricks start loosening, and you’re looking at expensive repairs. Meanwhile, fire brick mortar’s calcium aluminate bonds actually strengthen under heat.
The real game-changer is thermal shock resistance. When you light your fireplace, the temperature jumps from 70°F to 1,500°F in minutes. Regular mortar simply can’t handle this stress – it cracks and creates gaps.
Fire brick mortar flexes with these temperature changes while maintaining its bond strength. It’s designed to expand and contract without losing its grip on your firebricks.
Why every fireplace, oven, and fire pit needs fire brick mortar
Building codes exist for safety. NFPA-211 doesn’t just suggest using refractory mortar for high-temperature applications; it requires it. This isn’t optional for code-compliant installation.
Fire brick mortar is mandatory for fireboxes, smoke chambers, and flue linings. Pizza ovens need refractory mortar for both floor and dome. Even permanent masonry fire pits require proper mortar to meet safety standards.
Using proper fire brick mortar ensures your investment lasts. A well-built fireplace with quality refractory mortar can serve your family for 50+ years. Skip the proper mortar, and you’re looking at repairs every 5-10 years.
Formula Showdown & Ingredient Deep Dive
Walk into any masonry supply store and you’ll see dozens of fire brick mortar options. The packaging might look similar, but what’s inside can make the difference between a fireplace that lasts decades and one that needs repairs every few years.
Refractory mortar isn’t just one product with different brand names. There are several distinct types, each formulated for specific temperature ranges and applications.
Medium-duty refractory mortar handles temperatures up to 2,000°F, perfect for most residential fireplaces and outdoor fire pits. High-duty refractory mortar takes the heat up to 2,700°F – essential for commercial pizza ovens and kilns.
Calcium aluminate mortar offers superior weather resistance and longevity. It costs more upfront but pays for itself in durability, especially for outdoor applications where freeze-thaw cycles can destroy lesser mortars.
| Mortar Type | Max Temperature | Best Applications | Pros | Cons |
|---|---|---|---|---|
| Medium-duty Refractory | 2,000°F | Fireplaces, residential ovens | Code compliant, affordable | Not suitable for extreme heat |
| High-duty Refractory | 2,700°F | Commercial kilns, forges | Extreme heat resistance | More expensive, harder to work |
| Calcium Aluminate | 2,550°F | Premium residential, outdoor ovens | Superior longevity, weather resistant | Higher cost, faster setting |
| Traditional Fireclay | 1,800°F | Historical restoration only | Authentic appearance | Not code compliant |
For detailed information on mixing techniques and the latest formulations, check out this Latest research on refractory mortar.
Picking the right fire brick mortar type
Most homeowners overthink this decision. For typical residential projects, medium-duty fire brick mortar that meets ASTM C-199 standards works perfectly.
Medium-duty refractory mortar is your go-to choice for indoor fireplaces, outdoor fire pits, residential pizza ovens, and chimney repairs. It handles the heat you’ll actually encounter while staying within a reasonable budget.
High-duty refractory mortar is overkill for home use. Save this for commercial applications where temperatures regularly exceed 2,000°F. It’s also harder to work with and sets faster.
Calcium aluminate mortar is the premium option worth considering for outdoor applications and high-end residential projects. The weather resistance makes it worthwhile for exposed masonry.
Inside the mix: what each ingredient really does
Calcium aluminate cement replaces the Portland cement found in regular mortar. This actually gets stronger under heat instead of breaking down. It sets through a chemical reaction with water and stays stable even when soaked.
Fireclay is the real workhorse ingredient. Made from aluminate and silica, it can handle temperatures up to 3,000°F. It absorbs thermal shock – those rapid temperature changes that crack regular mortar.
Silica sand provides the structural backbone. Fine silica creates smooth, tight joints. Coarser grades add bulk strength for heavy-duty applications.
Alumina – pure aluminum oxide – cranks up the heat resistance even further. Premium mortars contain higher alumina content, which explains why they cost more but last longer.
Buying, Mixing & Budgeting Guide
A standard 50-pound bag covers about 100 regular firebricks when you’re laying joints between 1/16″ and 1/8″ thick. That’s enough mortar for a small fireplace firebox or a residential pizza oven floor.
The price range might surprise you. Budget-friendly refractory mortars start around $35 per 50-pound bag, while premium options can run up to $180 for specialty calcium aluminate formulas. These are average costs based on internet data. Most homeowners find that spending in the $60-$80 range gets them quality mortar that meets code requirements.
Pre-mixed mortars cost more upfront but save mixing time. Dry mix bags offer better value if you’re comfortable with mixing. For small touch-ups, squeeze tubes run about $15-$25 for 10.5 ounces.
Always buy extra. Plan on 10-15% more fire brick mortar than your calculations suggest.
How much fire brick mortar do you need?
For a typical fireplace firebox measuring 3 feet by 2 feet by 2 feet, you’ll use 60-80 firebricks and need one 50-pound bag of mortar. Keep those joints thin – 1/16″ to 1/8″ works best.
Pizza oven builders working on a 42-inch diameter floor should plan for 60-70 firebricks and one bag of mortar. Pizza ovens prefer tighter joints at 1/16″ thick.
Fire pit projects using a 4-foot diameter ring typically need 40-50 firebricks and one bag of fire brick mortar. You can go slightly thicker with 1/8″ joints here.
DIY vs bagged: mixing directions that actually work
The temptation to make your own fire brick mortar is strong, but homemade mixes don’t meet building codes and won’t perform like commercial refractory mortars.
For non-critical projects like garden fire pits, the basic recipe uses one part Portland cement, three parts fine sand, one part hydrated lime, and one part fireclay. But for anything involving your house or safety, stick with bagged products.
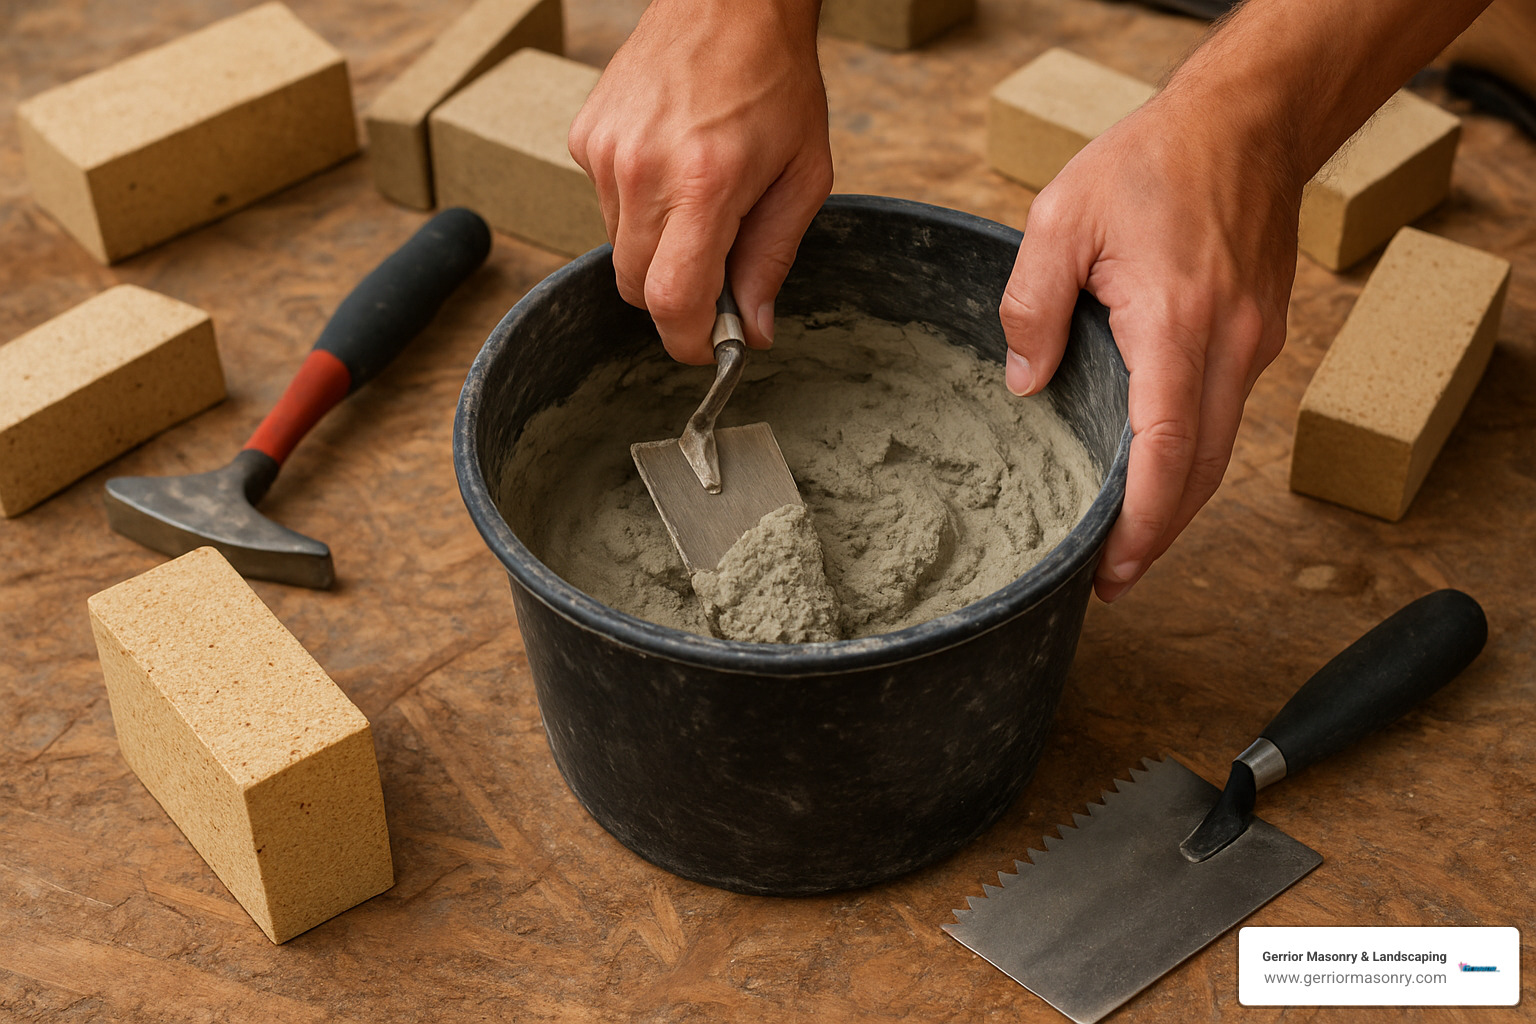
Mixing pre-bagged mortar is straightforward. Start with 10-12% water by weight – about 5-6 pounds of water for a 50-pound bag. Add water slowly while mixing. You want consistency like thick peanut butter.
Calcium aluminate mortar sets fast, especially on hot days. Mix small batches and use chilled water when it’s warm outside.
Shelf life matters. Dry mix bags last indefinitely if kept dry, while pre-mixed containers are good for 6-12 months sealed. Once you add water, you’ve got 1-2 hours max before the mortar becomes unusable.
Code-Compliant Application & Pro Tips
The biggest difference between professional masonry and DIY disasters isn’t the tools or materials – it’s understanding that fire brick mortar application is part science, part art, and entirely about following the right sequence.
Joint preparation is where most people go wrong. Start by cleaning all surfaces completely – every speck of dust, debris, and old mortar needs to go. Then dampen your firebricks by soaking them in water. This prevents the dry brick from sucking moisture out of your fresh mortar too quickly.
The trowel technique matters. Use the butter method – apply mortar to the brick ends before placing each brick. For bed joints, spread your fire brick mortar evenly and create a light furrow with your trowel tip.
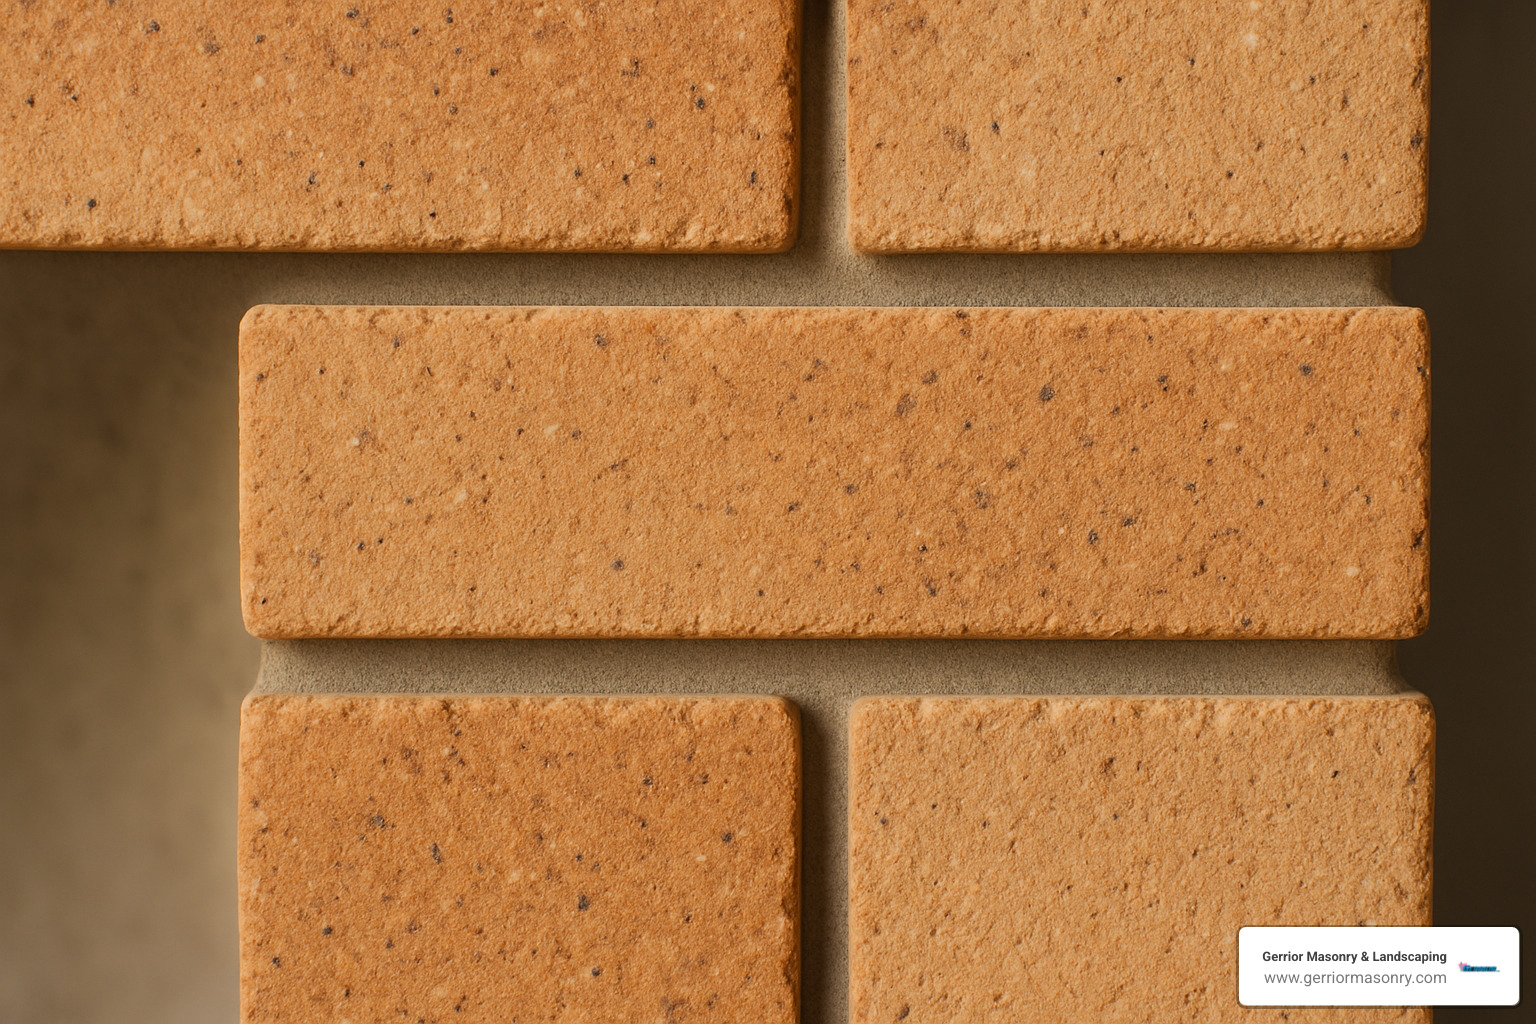
Keep joint thickness between 1/16″ and 1/8″ thick. Thick joints crack under heat stress. Strike your joints while the mortar is still workable, and clean off any squeeze-out immediately.
Code compliance isn’t optional. Make sure your mortar meets ASTM C-199 standards, plan proper expansion joints at corners and transitions, and remember that NFPA-211 requires refractory mortar for all high-heat applications.
For complex fireplace repairs or if you’re unsure about code requirements, check out our Brick Fireplace Repair services.
Avoid these top five installation mistakes
Using the wrong mortar is mistake number one. We recently repaired a fireplace where the contractor used regular mortar in the firebox. What should have been simple maintenance turned into a complete firebox rebuild.
Thick joints might look easier to work with, but they’re asking for trouble. When joints are thicker than 1/8″, they become the weak point in your structure.
Premature firing ruins more projects than you’d expect. Firing too soon prevents proper curing and can cause the mortar to fail within the first year.
Skipping expansion gaps is a recipe for disaster. Without proper expansion joints, something has to give – usually your mortar joints crack or bricks spall.
Weather exposure during curing has destroyed countless weekend projects. Rain can wash out calcium aluminate mortar before it sets properly.
First firing schedule for new fire brick mortar
Start with a 24 to 48-hour air dry period with absolutely no heat. The mortar needs to begin its chemical cure before any thermal stress is applied.
Day three calls for a small kindling fire – keep temperatures around 200 to 300°F maximum. You’re just introducing gentle heat to continue the curing process.
Day four allows for a moderate fire up to 400 to 500°F. You should start seeing the mortar change from wet gray to a lighter gray color.
Day five brings normal firing temperatures of 600 to 800°F. By now, your joints should feel firm when tapped.
Day six and beyond means you can enjoy full temperature operation. Your fire brick mortar has developed its full strength and thermal shock resistance.
Maintenance, Repairs & FAQs

Even the best fire brick mortar installations need some TLC over time. Regular inspections catch small problems before they become big headaches.
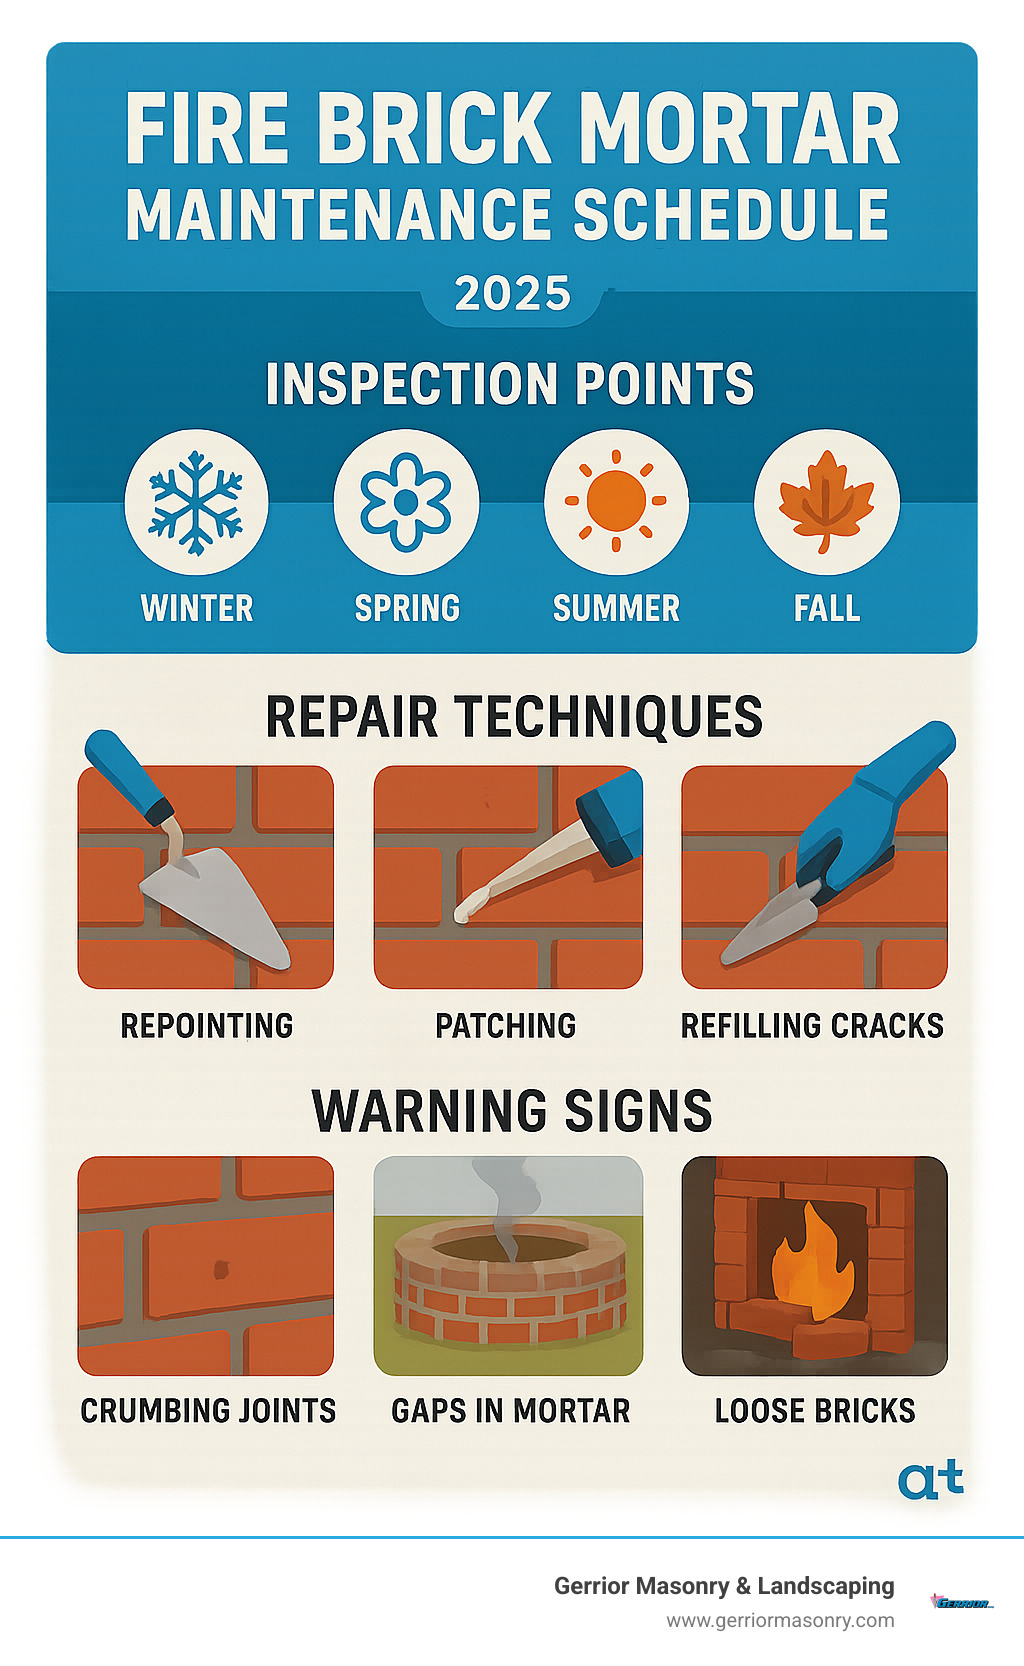
Spring inspections are crucial after winter’s freeze-thaw cycles. Look for hairline cracks or loose joints. Fall inspections prepare your fireplace for heavy use during heating season. Monthly checks help spot issues early if you’re using your fireplace regularly.
When joints start showing wear, tuck-pointing saves the day. This involves removing damaged mortar to about half an inch deep, cleaning thoroughly, and applying fresh fire brick mortar.
Outdoor fire pits and pizza ovens face extra challenges from weather exposure. That’s why we recommend calcium aluminate-based fire brick mortar for outdoor applications.
For professional masonry repairs, check out our Brick Mortar Repairs services.
FAQ #1 – Can I use leftover mortar next season?
Dry mix fire brick mortar keeps indefinitely if stored properly in sealed containers away from moisture. Check for lumps or hardening before using stored mortar.
Pre-mixed mortar has a 6-12 month shelf life but can separate over time. When in doubt, buy fresh.
Mixed mortar with water added? Never save it. Once you add water to calcium aluminate mortar, you’ve got 1-2 hours to use it or toss it.
FAQ #2 – What happens if rain hits uncured joints?
Rain on fresh fire brick mortar is bad news. The binding agents can wash out, leaving weakened joints. Cover your work with plastic sheeting during curing.
If rain hits fresh joints, evaluate the damage once everything dries. You might need to re-point affected areas.
FAQ #3 – How do I patch small gaps quickly?
Start by cleaning thoroughly – remove loose material and debris. Dampen the area lightly with water for better adhesion.
For small repairs, 10.5 oz repair tubes work great. They’re more expensive per pound but convenient for minor touch-ups. Apply the repair mortar carefully, then tool it smooth to match surrounding joints.
Remember to cure properly – follow manufacturer’s guidelines even for small repairs.
Conclusion
After 34 years in the masonry business, I can tell you that fire brick mortar is one of those materials where cutting corners always comes back to haunt you. I’ve seen too many beautiful fireplace projects turn into expensive headaches because someone tried to save fifty bucks on the wrong mortar.
The math is simple: spend a little more upfront on quality fire brick mortar that meets ASTM C-199 standards, and you’ll have a fireplace that your grandkids will still be enjoying. Skip it, and you’ll be calling a mason every few years to fix cracked joints and loose bricks.
Here’s what really matters when you’re shopping for fire brick mortar. Temperature rating is everything – make sure it handles at least 2,000°F for residential applications. Joint thickness should stay between 1/16″ and 1/8″ for the best performance. And here’s a pro tip from three decades of masonry work: always buy 10-15% extra for touch-ups and repairs. Trust me, you’ll thank yourself later.
For outdoor projects like pizza ovens and fire pits, calcium aluminate mortars are worth the extra cost. They laugh at weather exposure while regular refractory mortars might need more frequent maintenance.
The curing process can’t be rushed either. Give your fire brick mortar that full 24-48 hours to cure before you even think about lighting a fire. Then ramp up the temperature gradually over several days. I know it’s tempting to fire up that new pizza oven right away, but patience pays off with decades of reliable service.
At Gerrior Masonry & Landscape Construction, we’ve perfected high-heat masonry techniques through countless fireplace builds, pizza oven installations, and chimney repairs. Our team knows that proper fire brick mortar selection and application separates weekend warriors from professional results.
Whether you’re building your dream outdoor kitchen or restoring a historic fireplace, we’re here to ensure your project meets code requirements and exceeds your expectations. From small repairs to complete installations, our expertise guarantees masonry work that stands the test of time and temperature.
For comprehensive masonry services, visit our Masonry Repair services page.
Gerrior Masonry & Landscape Construction is based in Woburn, MA, and proudly serves Middlesex and Essex County, Massachusetts. Contact us today for expert high-heat masonry solutions that combine old-world craftsmanship with modern materials and techniques.
